A Beginner’s Guide to Mastering Photography as a Hobby
Image Source: Stocksy
There’s something incredibly rewarding about capturing a beautiful image—whether
it’s a quiet landscape at sunrise, the joy on a loved one’s face, or a perfectly
composed cup of coffee. Photography is more than just taking pictures; it’s a
way to express yourself, tell stories, and see the world with fresh eyes. And
the best part? You don’t need to be a professional—or have expensive gear—to
enjoy photography as a fulfilling hobby.
If you’ve ever wondered how to start photography as a hobby or want to improve
your skills without getting overwhelmed by jargon, you’re in the right place. In
this beginner-friendly guide, we’ll walk you through the basics of photography
for beginners—from choosing the right equipment and easy photography techniques
to developing your creative eye and editing your images. Whether you’re using a
smartphone or a DSLR, this guide is packed full of beginner photography tips
that will help you build confidence behind the lens and start your journey into
photography with joy and clarity.
In short…
Start Simple with Equipment and Techniques: Focus on
learning the basics of photography—such as composition, lighting, and
exposure—using the camera you already have, and build skills before investing in
more advanced gear.
Develop Your Creative Eye Through Practice: Train yourself
to notice textures, colours, light, and everyday beauty by photographing
regularly, experimenting with different styles, and embracing creative
challenges to strengthen your artistic instincts.
Join Communities and Keep Growing: Connect with other
photography enthusiasts online or locally to gain feedback, stay inspired, and
maintain motivation as you continue to refine your craft and build your
confidence behind the lens.
Photography as a hobby is about more than mastering technical skills—it’s about
seeing the world differently, telling your stories, and finding joy in the
creative process. With practice, curiosity, and community, you’ll steadily build
both your technical ability and your unique visual voice, turning everyday
moments into meaningful works of art.
Choosing the Right Equipment Without Overspending
One of the biggest myths in photography is that you need a top-of-the-line
camera to take great photos. The truth? The best camera is the one you have with
you—and knowing how to use it makes all the difference.
Camera Types: What’s Right for You?
Smartphones: Modern smartphones have powerful cameras and
built-in editing tools, making them a fantastic option for beginners. They’re
convenient, portable, and perfect for
practising
photography on the go.
DSLRs: Digital Single-Lens Reflex cameras offer greater
control over settings and better image quality. Ideal for those ready to dive
deeper into manual shooting and interchangeable lenses.
Mirrorless Cameras: These lightweight alternatives to DSLRs
provide excellent image quality and are great for hobbyists wanting to learn
manual controls without carrying heavy gear.
Must-Have Accessories for Beginners
Tripod: A stable tripod helps you shoot in low light,
create long exposures, or keep shots steady during self-portraits.
SD Card: Make sure you have a reliable, fast SD card to
store your photos without lag.
Basic Lens (for DSLRs or mirrorless): A 50mm prime lens is
affordable and versatile—great for portraits, food shots, or everyday
scenes.
Don’t feel pressured to buy everything at once. Start with what you have and
upgrade as your skills and interest grow.
Image Source: Adobe Stock
Learning the Basics of Photography
Understanding how your camera works is key to unlocking its creative potential.
Don’t worry—we’re keeping it simple.
The Exposure Triangle
Exposure is how light or dark your photo is, controlled by three settings:
Aperture (f-stop): Controls the depth of field—how much of
your image is in focus. A lower number (e.g., f/2.8) gives a blurry background,
while a higher number (e.g., f/11) keeps more in focus.
Shutter Speed: Determines how long the camera’s sensor is
exposed to light. A fast shutter freezes motion; a slow shutter creates motion
blur.
ISO: Adjusts the sensor’s sensitivity to light. Lower ISO
gives clearer images; higher ISO helps in low light but may add grain.
Composition Fundamentals
Rule of Thirds: Imagine your image divided into thirds both
horizontally and vertically. Place your subject where the lines intersect for
more dynamic compositions.
Leading Lines: Use roads, paths, or architecture to draw
the viewer’s eye toward your subject.
Framing: Use natural elements like windows, trees, or
doorways to frame your subject and add depth.
Mastering Light
Good lighting can elevate a simple image. For beginners:
Shoot during “golden hour” (the hour after sunrise or before sunset) for
soft, flattering light.
Avoid harsh midday sun unless you’re going for strong contrast.
Use window light indoors for gentle, natural illumination.
Developing Your Creative Eye
Technical knowledge is important, but creativity is what makes a photo stand
out. The more you observe, the more you’ll start seeing potential images
everywhere.
Train Yourself to See Differently
Pay attention to textures,
colours,
shadows, and reflections. Look for interesting angles or moments of everyday
beauty—a leaf on a footpath, a reflection in a puddle, or a person deep in
thought.
Be Patient and Present
Photography teaches you to slow down. Instead of snapping dozens of random
shots, take your time. Study the scene. Wait for the right light or expression.
Often, the best photographs are about timing and presence.
Creative Exercises
Photo a Day Challenge: Take one photo daily with a specific
theme (e.g., circles, shadows, or texture).
Limit Your Gear: Shoot with only one lens or your phone for
a week to push your creativity.
Change Perspectives: Try photographing the same subject
from above, below, or behind.
Image Source: Stocksy
Practising
and Experimenting with Different Styles
The best way to discover what you love in photography is to try a bit of
everything. Don’t worry about perfection—just play.
Explore Different Genres
Landscape:
Practice
capturing wide, scenic views and natural light.
Portrait: Focus on expressions, emotion, and
connection.
Street Photography: Document everyday life and interesting
moments in public spaces.
Macro: Zoom in on small details like flowers, insects, or
textures.
Create Personal Challenges
Photograph a
colour for a
week.
Tell a story in five images.
Recreate a photo you admire in your own way.
These self-directed challenges keep photography fun while helping you improve
your skills.
Editing Basics for Beginners
Editing is where your photos truly come to life. Even simple edits can
dramatically improve your shots—and you don’t need expensive software to get
started.
Beginner-Friendly Tools
Snapseed (mobile): Free and easy to use, with powerful
features for adjusting brightness, contrast, sharpness, and more.
Lightroom (Mobile/Desktop): Offers more control and allows
you to work with presets and organise your images.
Canva: Great for adding text or layouts for social
sharing.
Easy Photography Editing Techniques
Crop for Impact: Adjust framing to enhance
composition.
Adjust Brightness and Contrast: Improve clarity and balance
exposure.
Boost
Colour
(Sparingly): Make
colours pop—but
avoid over-editing.
Sharpen and Reduce Noise: Especially useful for low-light
images.
Think of editing as the finishing touch—not fixing a bad photo, but enhancing a
good one.
Photography can be a personal pursuit, but sharing your work and learning from
others is incredibly valuable.
Why Community Matters
Feedback: Helps you see what’s working (and what can
improve).
Inspiration: Exposing yourself to other photographers’
styles sparks creativity.
Accountability: Joining challenges or groups can motivate
you to keep shooting.
Where to Find Communities
Online Groups: Join photography communities on Facebook,
Reddit, or platforms like Flickr or Instagram.
Local Clubs: Many cities have photography meetups and clubs
open to all skill levels.
Courses & Forums: Enrol in a photography course that
includes discussion boards or virtual meetups.
At The
Photography Institute, you’ll also gain access to a global community of
students and mentors ready to support your journey.
Tips by PI Tutor Justin Aitken
What to consider when buying a new camera
There are a few main things to consider when buying a new camera. Mirrorless
dominates the sales these days, and given their excellent autofocus systems,
smaller size and lighter weight (compared to DSLR), it makes sense to explore
this option.
Brand & Model - Canon, Sony, Nikon and FujiFilm are all
great options. Each has its selling point features. If you’re not familiar with
any of the menu systems or functionality, then it’s a good idea to ‘test drive’
them if you can, to see which one suits you best.
Sensor - Resolution, ISO Capabilities and Sensor Size are
all very important to consider when choosing a camera. Higher Resolutions,
bigger and better Sensors, and higher ISO Capabilities are all important and
favourable -
although do determine the cost of the camera.
Lens Options - Make sure that the camera system you choose
has a good range of lens options for the model/mount that you’re considering.
Think twice about kit options as the lenses that come with these are often
average with limited capabilities for aperture and quality.
Price - When choosing a camera, ultimately it all comes
down to budget, but there are options for all budgets.
There are a lot of other features to keep in mind, such as Resolution, image
stabilisation, video options etc. So make sure to do your homework with the
various models, and that you compare and understand the features on offer. It’s
always a good idea to chat with your local camera store as they are always up to
date with the latest options and releases. Purchasing from a camera store that
specialises
in camera equipment is often a better option than purchasing from a department
store, as their staff are employed because of their knowledge so they will be
able to help and advise based on this.
Justin Aitken is a Multi Award Winning Professional Photographer. His expertise, creative quality and specialty can be seen in his portrait, lifestyle and wedding photography. His personal work consists of music, landscape and travel photography.
Photography is more than just taking pictures—it’s about learning to see the
world in a new way. As a beginner, the most important thing you can do is start.
Don’t wait for the perfect camera or the perfect moment. With curiosity,
practice, and a bit of patience, you’ll quickly find joy in capturing everyday
scenes and turning them into something meaningful.
Throughout this guide, you’ve explored the key building blocks of photography
for beginners—from choosing the right equipment and learning the basics of
exposure, to developing your creative eye and experimenting with different
styles. You now have the tools to approach photography with more confidence,
creativity, and clarity.
The more you shoot, the more you’ll grow. And while it’s easy to get caught up
in technical details, remember that photography is ultimately about
connection—whether that’s with your subject, your environment, or your own
creative voice.
If you’re ready to take your skills further, The
Photography Institute offers expert-led online
courses that walk you through everything from camera techniques to
post-production. Whether you're shooting for fun or considering a future in
photography, these courses can help you build a strong foundation and keep
progressing with purpose.
So pick up your camera and start exploring. Your journey into photography starts
now—one photo, one moment, one story at a time.
Embark on a journey of inspiration, creativity, and expertise through our array of Photography blog posts featuring insights, student showcases, and expert tips.
Social Networks
Contact Us
Complete the form below, and we will get back to you as soon as possible.
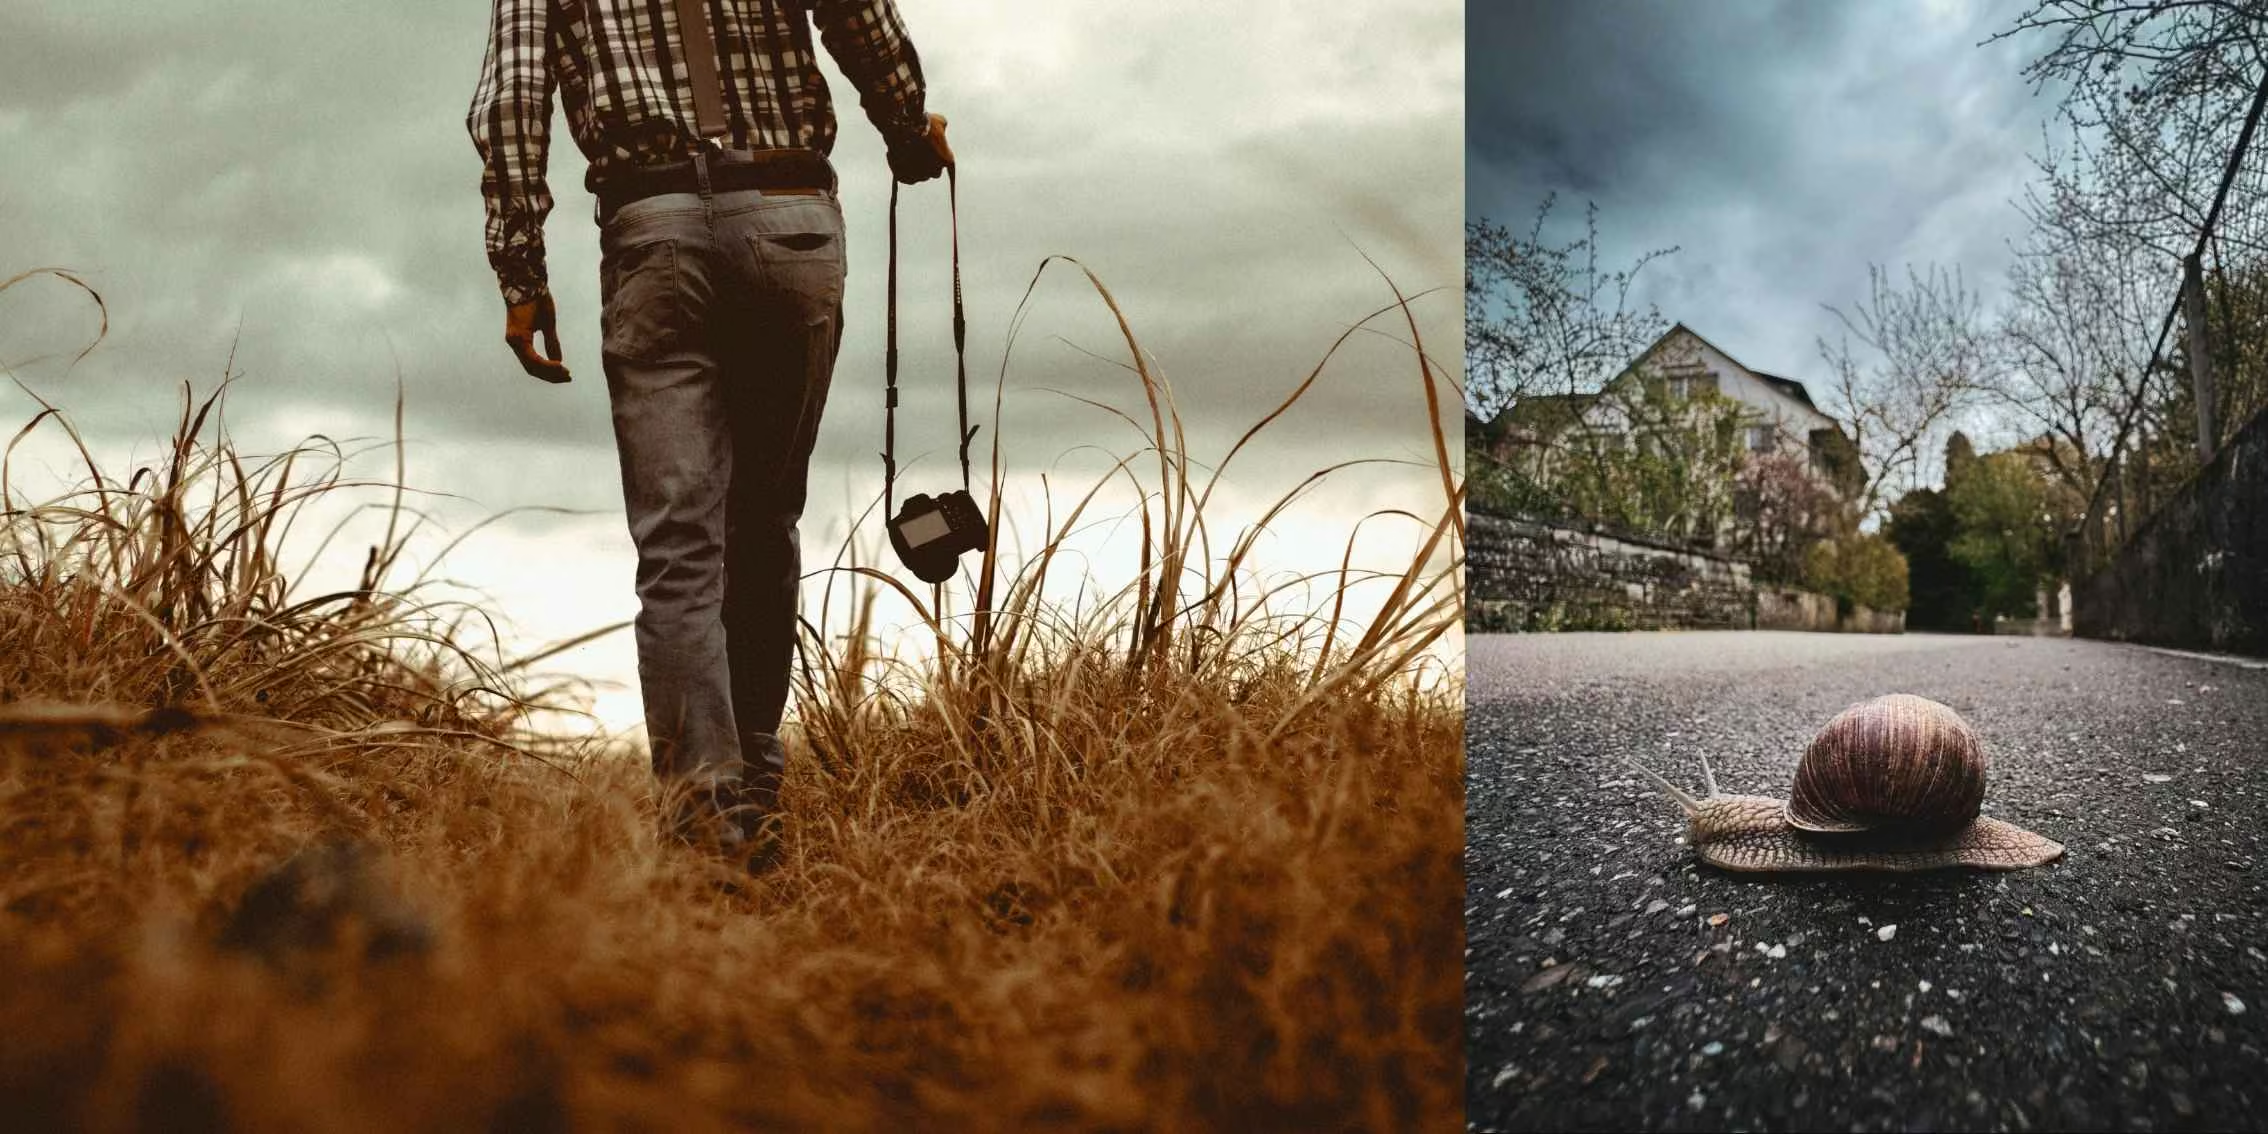

 Image Source: Stocksy
 Image Source: Adobe Stock
 Image Source: Stocksy
 Image Source: #PIstudent Lynne O'Meara @lynneomearaphotography
 Image Source: PI Tutor Justin Aitken www.justinaitken.com
 Image Source: Adobe Stock