Module 3: ISO, Exposure & Metering
In this module, we focus on developing your ability to read and control light with confidence. You’ll be introduced to a range of metering approaches, tools, and concepts that help ensure accurate exposure in different lighting conditions. We also begin laying the groundwork for understanding how exposure, dynamic range, and colour interact, setting the stage for more deliberate, consistent, and expressive photographic decision-making.

Why This Module Matters
Photography is all about controlling exposure through precise light metering and the ability to interpret light when looking at a scene. In Module 3, you’ll:
- Learn to control exposure in any lighting situation.
- Practice and make intentional creative decisions instead of relying on guesswork.
- Improve consistency and accuracy across different cameras, lenses, and environments.
- Deepen your understanding of how light, colour, and dynamic range affect the final image.
- Strengthen your ability to achieve your desired visual style with confidence.
What You’ll Learn
-
Light & Exposure Control
Understand how different metering methods guide accurate exposure in varying conditions.
-
ISO, Noise & Image Quality
Learn how ISO sensitivity settings affect detail, colour, and clarity in your photographs.
-
Dynamic Range & the Zone System
Explore how to manage contrast and tone placement for consistent results.
-
Colour Foundations
Gain a clear understanding of RGB, greyscale relationships, and white balance control.
What You’ll Do
-
Practice Metering Techniques
Compare handheld, in-camera, spot, and incident metering in real lighting scenarios.
-
Test Exposure & Tone
Conduct greyscale and tonal placement exercises to build confidence in your decisions.
-
Create Your Own Zone Ruler
Develop and utilise a practical tool, whether digital or mechanical, to ensure tonal accuracy.
-
Apply Methods in Editing Software
Use Lightroom and Photoshop to refine, evaluate, and confirm your exposure choices.
Module Topics
In Module 3, we will cover the following topics and beyond:
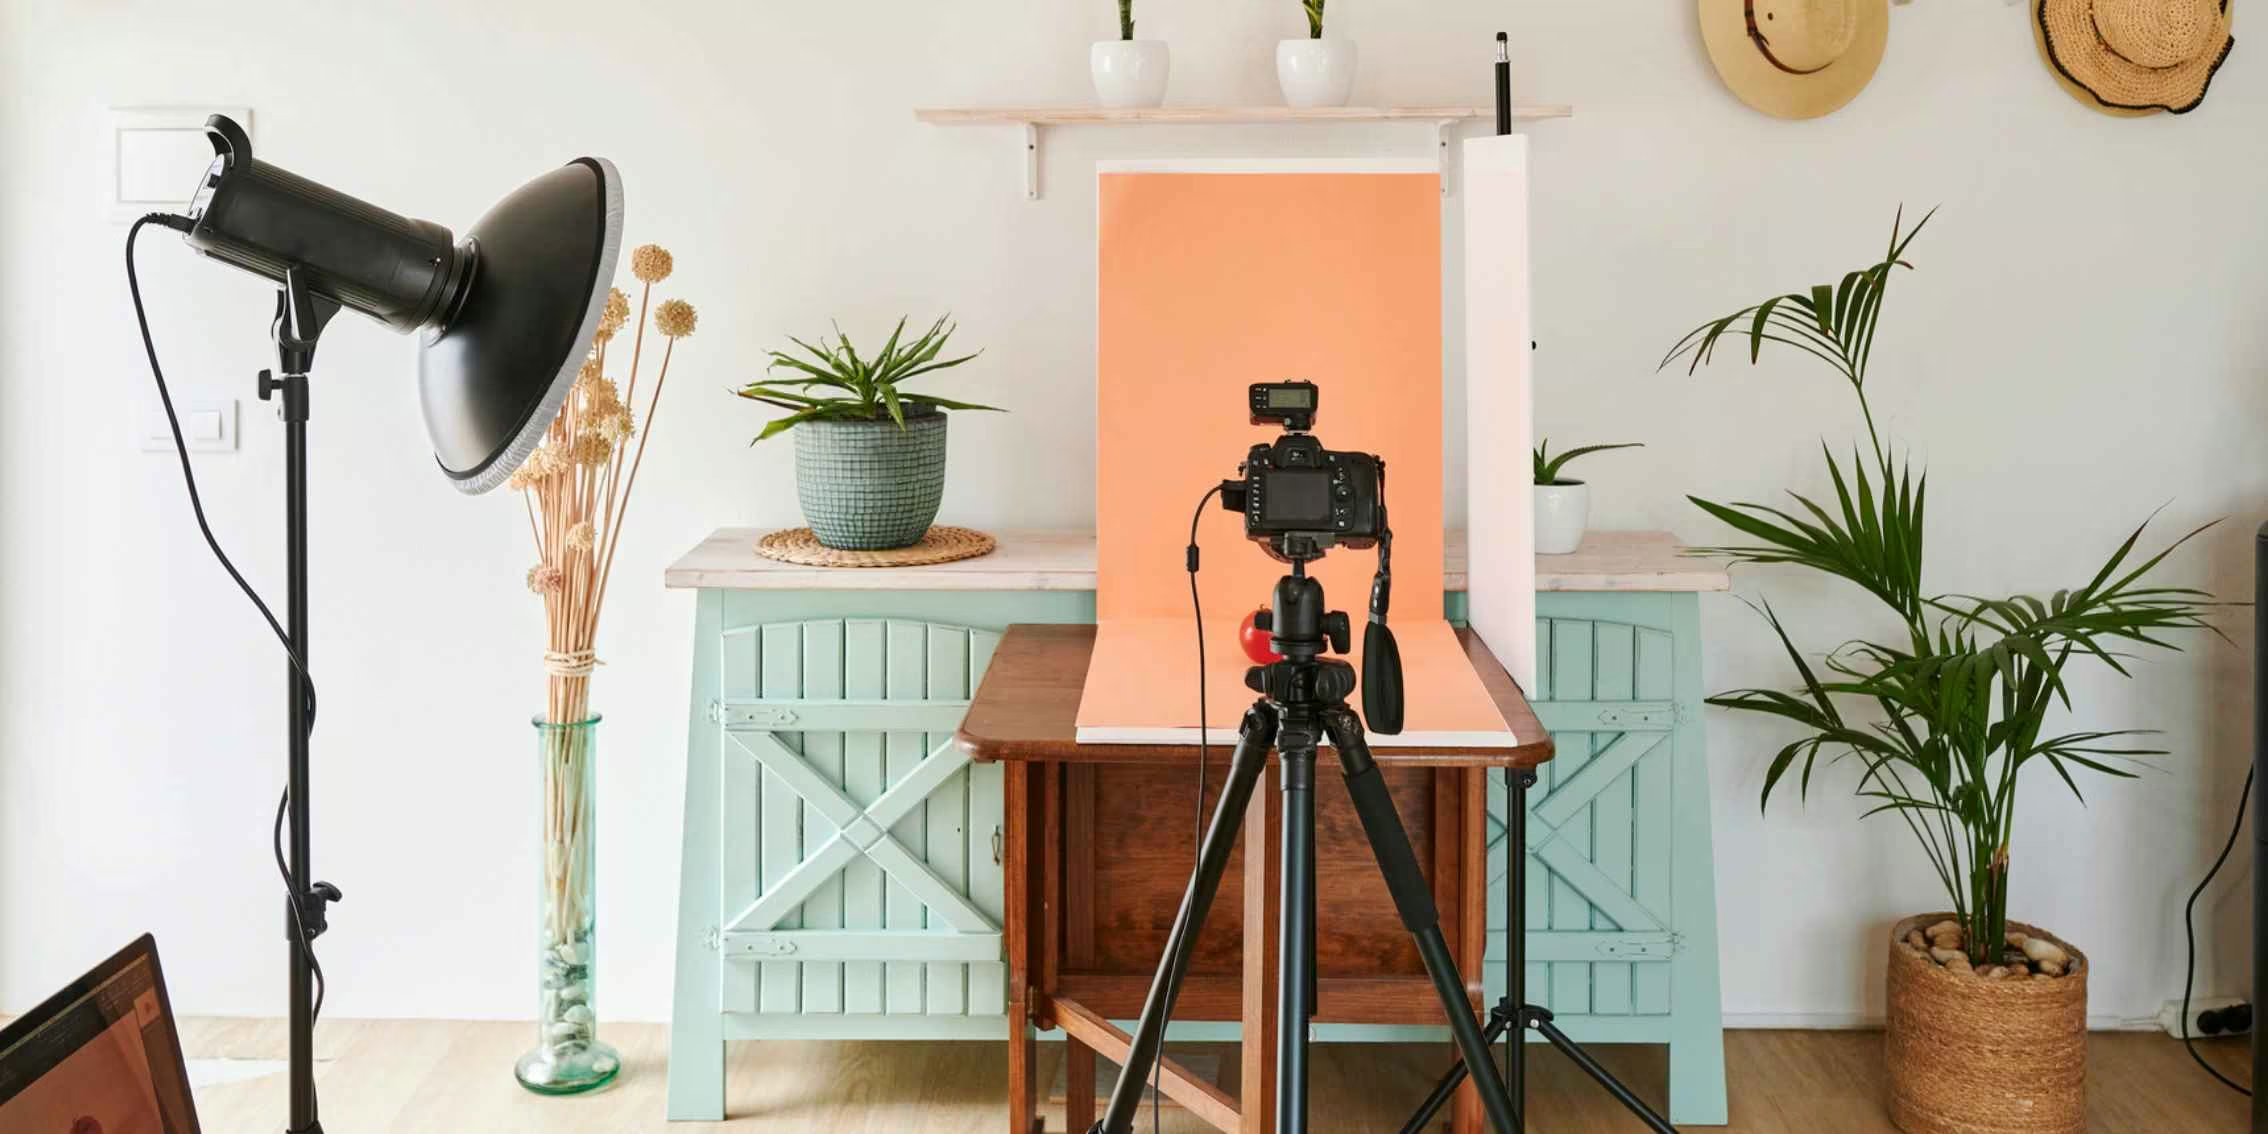
- Light Meters
- Handheld Light Meters
- In-Camera Light Meters
- Average Reflective Metering
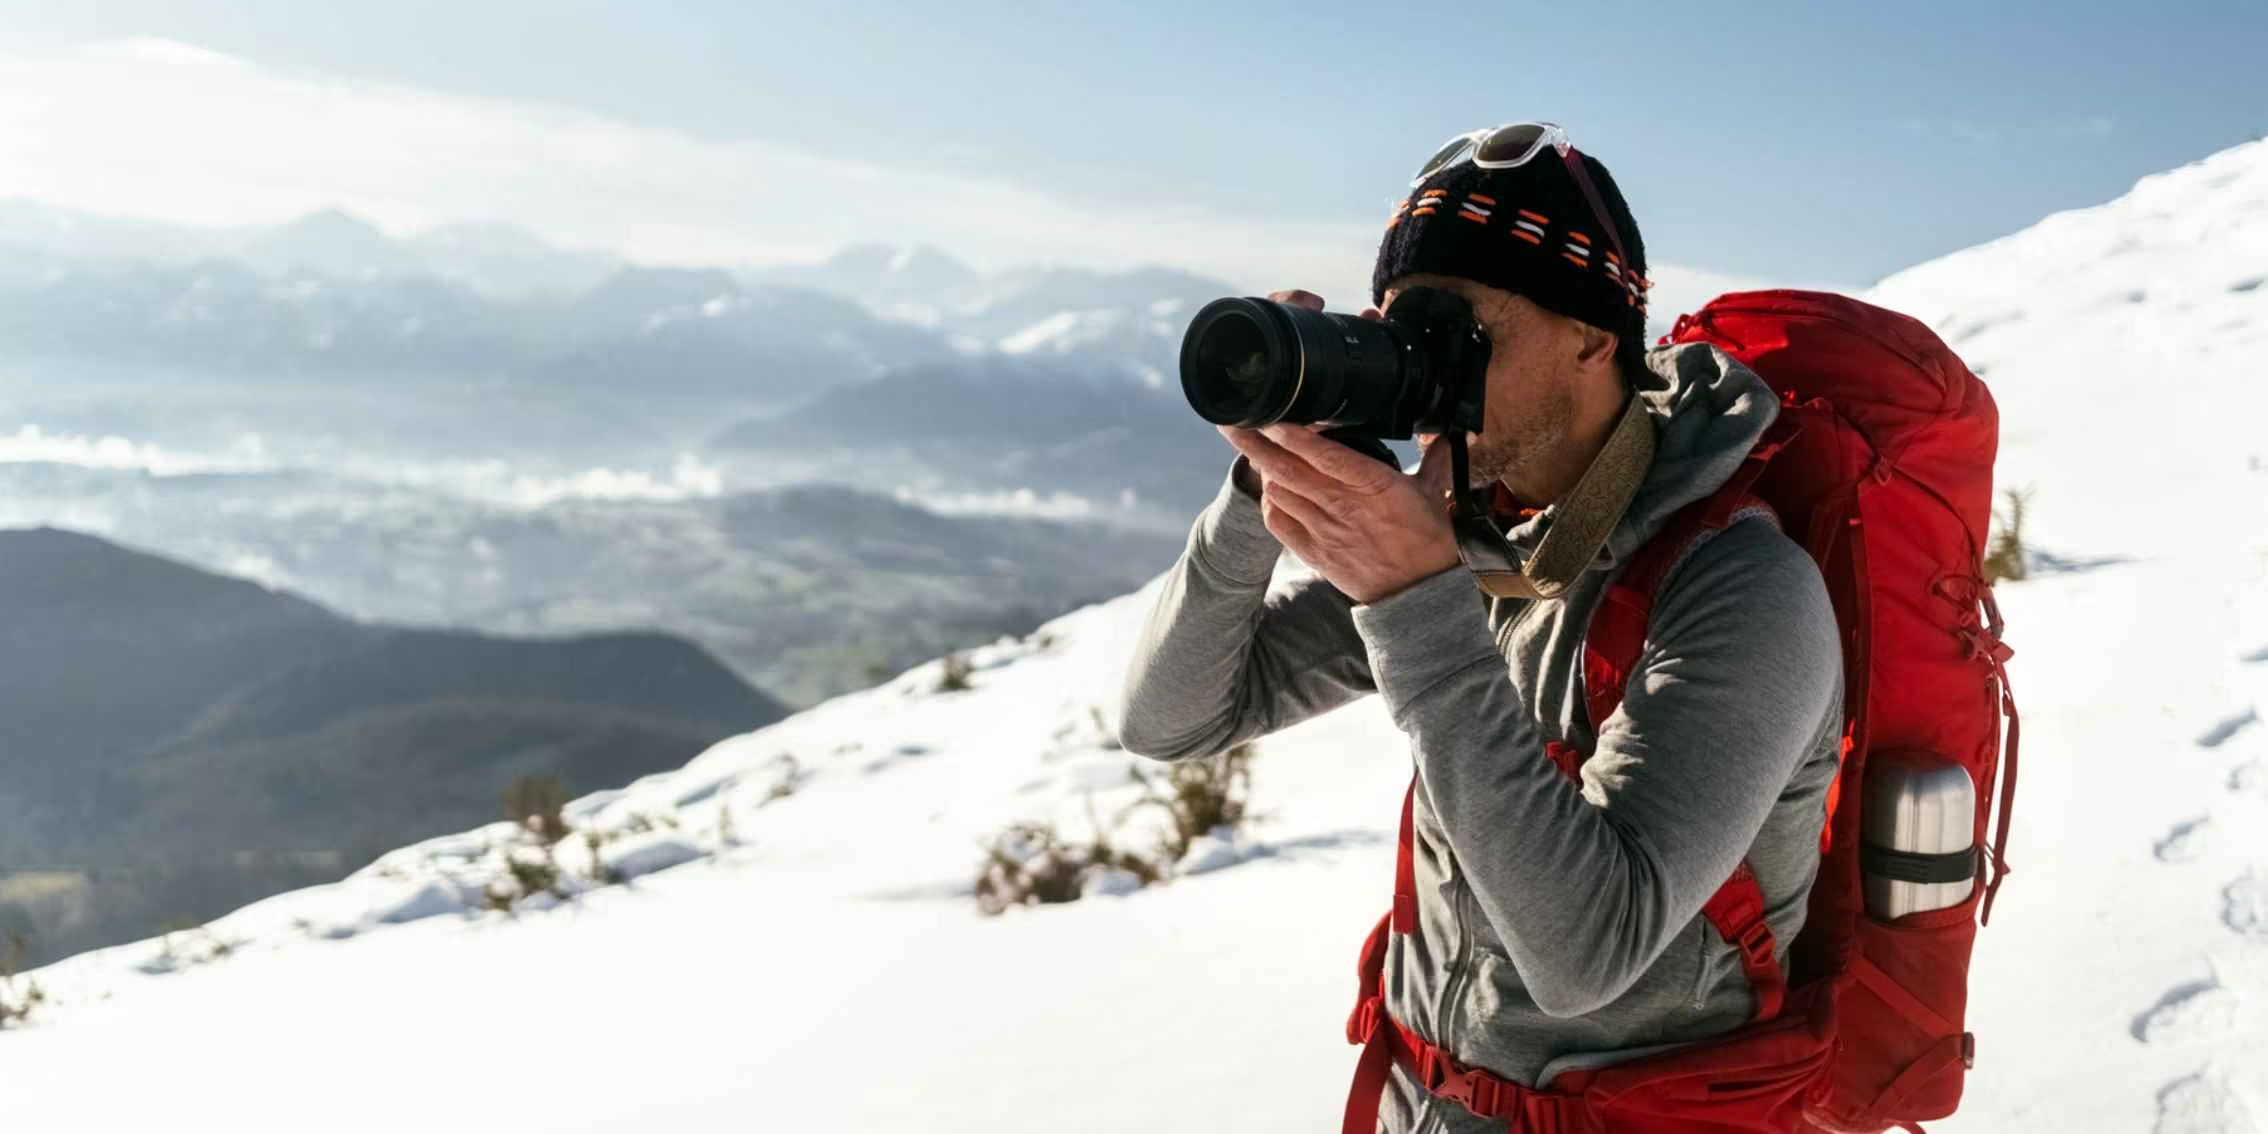
- Scenario 1: Bright Scenes
- Scenario 2: Dark Scenes
- Incident Metering
- Spot Metering
- Understanding Digital ISO
- Increased Light Sensitivity
- Digital Noise
- High ISO, Contrast & Colour Distortion
- Auto ISO
- The Shutter Speed, Aperture & ISO Relationship
- The 18% Grey Card
- Palm Metering
- My Studio Light Metering Method
- What Is Dynamic Range?
- A Guide To Using Dynamic Range
- The Zone System
- The Stepped Greyscale Test
- Zone System Basics
- RGB & Colour Basics
- RGB, Greyscale & Colour Bias
- Custom White Balance (CWB)
- Overview – Building A Zone Ruler
- Compiling Exposure Data In The Zone Table
- The Final Procedure, Constructing The Zone Ruler
- Mechanical, Old-School Zone Ruler
- Photoshop Zone Ruler Construction
- Making Use Of Our Test Results
- Practical Zone Placement
- Lightroom Classic vs. Lightroom CC
- Metering Colours & Other Tips
- On Light Metering
- The Sunny F/16 Rule
Module Outcomes
By completing Module 3, you will:
- Confidently read and assess light in a wide range of shooting environments.
- Make accurate exposure decisions using metering tools and techniques.
- Understand how ISO, dynamic range, and tonal control affect image clarity and mood.
- Apply the Zone System to achieve consistent and intentional tonal placement.
- Refine your colour accuracy and workflow across camera settings and editing software.
Guidance Every Step of the Way
As with every stage of your learning, our expert tutors will support you throughout Module 3. They’ll help you refine your understanding of light meters, build confidence while setting up the exposure in your images, and strengthen your ability to understand light. With guidance and feedback, you’ll leave this module ready to make thoughtful, creative, and functional photography decisions.
Discover the Modules
Explore our course outline page to learn more about the other modules.
View Course Outline

