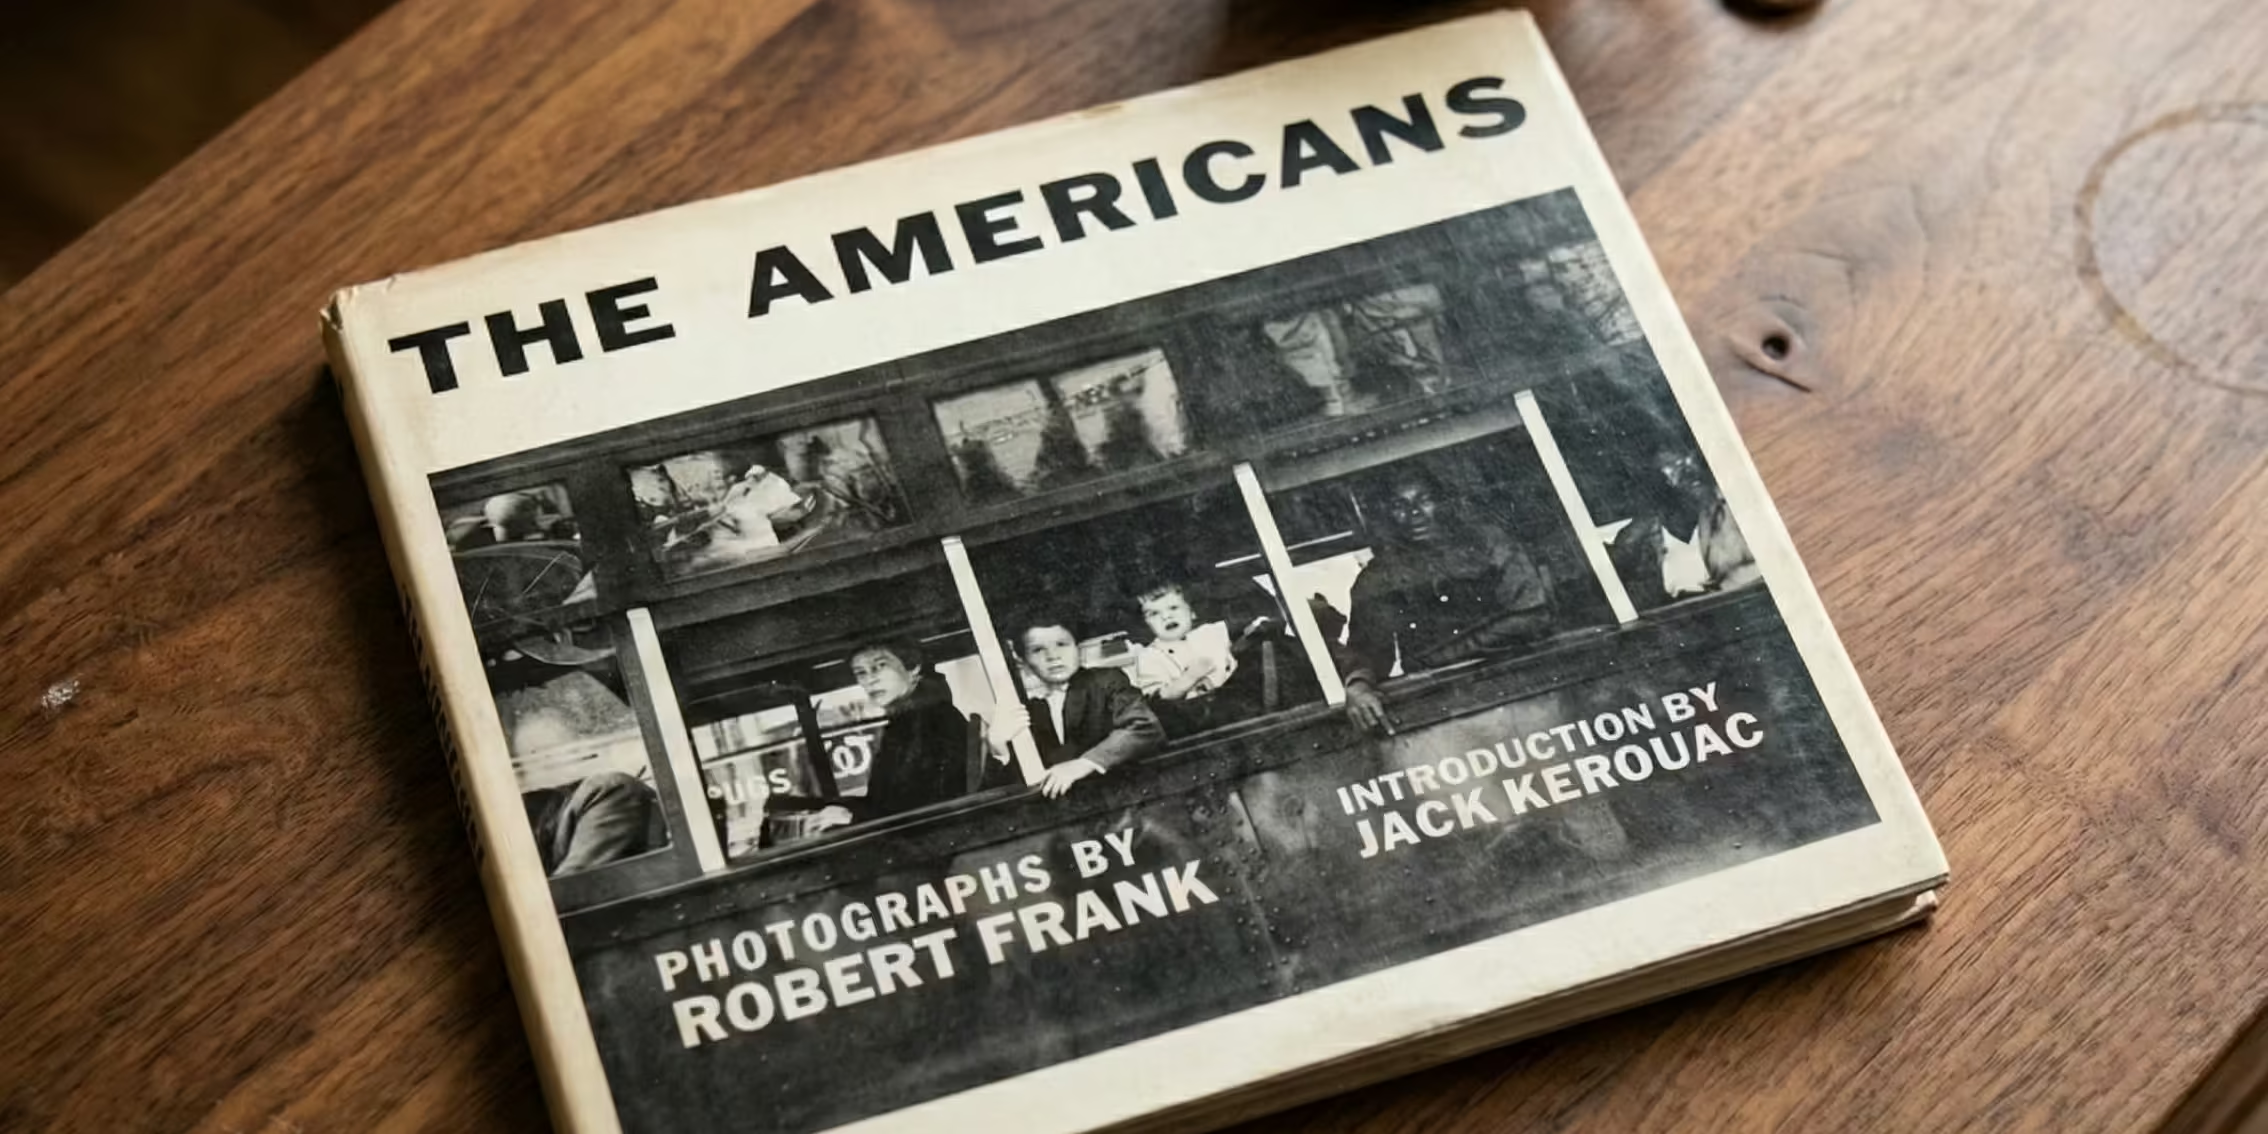


Image Source: Louis Carramaschi @louisphotoart
You capture a perfect sunset but the highlights are blown out into a white mess. Can you recover that detail? The choice between RAW vs JPEG dictates whether you can rescue that shot or if it's lost forever. A RAW file acts like a digital negative with all the sensor data intact. A JPEG is a pre-baked, compressed version that discards hidden detail to save space. Your choice depends on whether you value creative control or workflow speed.
In short,
Build the professional knowledge you need to hack your dream photography career. To master the technical details that separate hobbyists from pros, enrol in our online photography course today.
JPEG stands for Joint Photographic Experts Group and it's the most common of all photo file formats. A JPEG is a processed and compressed version designed for speed. Your camera processor makes permanent choices about colour and sharpness before discarding the extra data to save space. This makes them perfect for social media and quick delivery. You can open a JPEG on any phone or computer without using specialist editing tools.
A RAW file format is uncompressed data captured straight from your camera sensor. Think of it as the “raw” ingredients for a meal. A JPEG is the finished dish. You can't un-bake a cake, but you can change the recipe of a RAW file before you process it. This flexibility is why serious photographers often prefer RAW for their best work.
Understanding the 4 key differences between these file formats helps you produce professional results and master your creative workflow.
RAW files capture every bit of information your sensor sees. JPEG files are pre-processed versions where the camera applies its own style. You keep total control over white balance and exposure with RAW because the data isn't locked in yet.
RAW files use high bit depths to store trillions of possible colour shades. JPEG is limited to 8-bit depth which only offers about 16.7 million colours. You'll see smooth gradients in skin tones with RAW while JPEGs often show blocky lines called banding.
A RAW image file is usually five times larger than a JPEG. You'll fill up your memory cards faster and need more hard drive space. Large files also require a faster computer and specific software to view and edit.
RAW captures a much wider range of light from deep blacks to bright whites. JPEGs discard extra light data to keep the file size down. You can often rescue a dark foreground in a RAW file while a JPEG will look muddy.
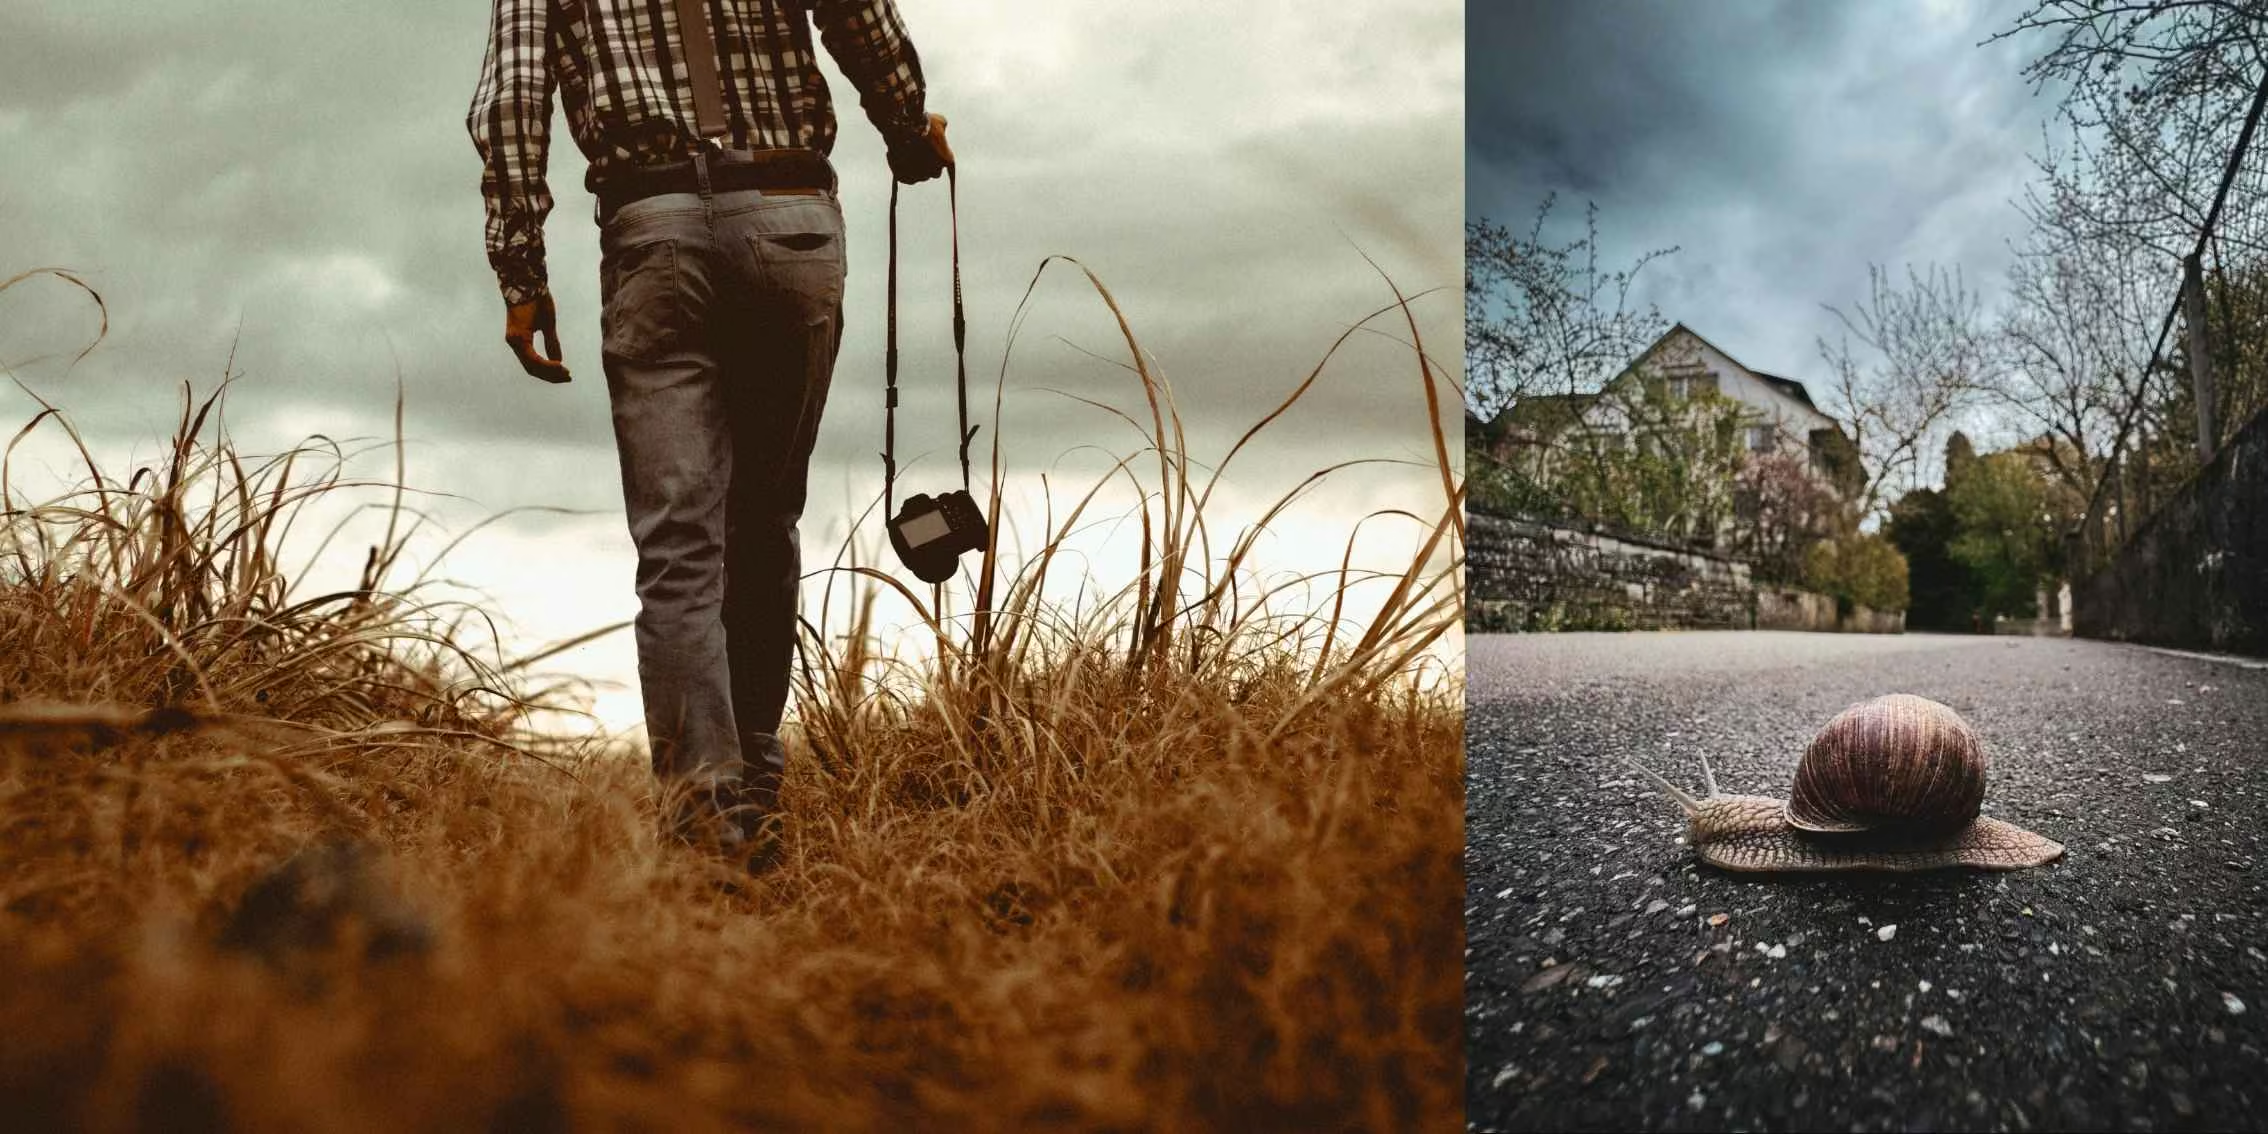
 Image Source: Adobe Stock & Braden Jarvis - Unsplash
| Aspect | RAW File | JPEG File |
|---|---|---|
| Data Type | Uncompressed sensor data | Compressed, processed image |
| Bit Depth | 12–14 bit (Trillions of colours) | 8-bit (16.7 million colours) |
| File Size | Large (20 to 50MB) | Small (2 to 10MB) |
| Dynamic Range | High (Rescue shadows/highlights) | Low (Detail is often lost) |
This isn't true for every situation. JPEG is the best choice if you nail your exposure and need to deliver images to clients immediately.
Modern storage is affordable. A 128GB memory card can hold roughly 3,000 RAW files. Modern SSDs make it easy to back up these collections.
Minor colour tweaks are fine. Only heavy exposure recovery reveals the limits of the format.
Problem: The Blown-out Sky. You captured a stunning sunset but the sky is pure white. In a JPEG, that data is gone.
Solution: Use the Highlights slider in your software to pull that white back into deep oranges.
Problem: The Orange Wedding. Indoor lights made everyone look orange. Changing this in a JPEG creates noise.
Solution: RAW lets you change the White Balance perfectly after the shoot because the colour data isn't baked in.
Problem: Banding in the Sky. You edited a blue sky and now see blocky lines.
Solution: RAW files provide trillions more shades to ensure gradients stay smooth.
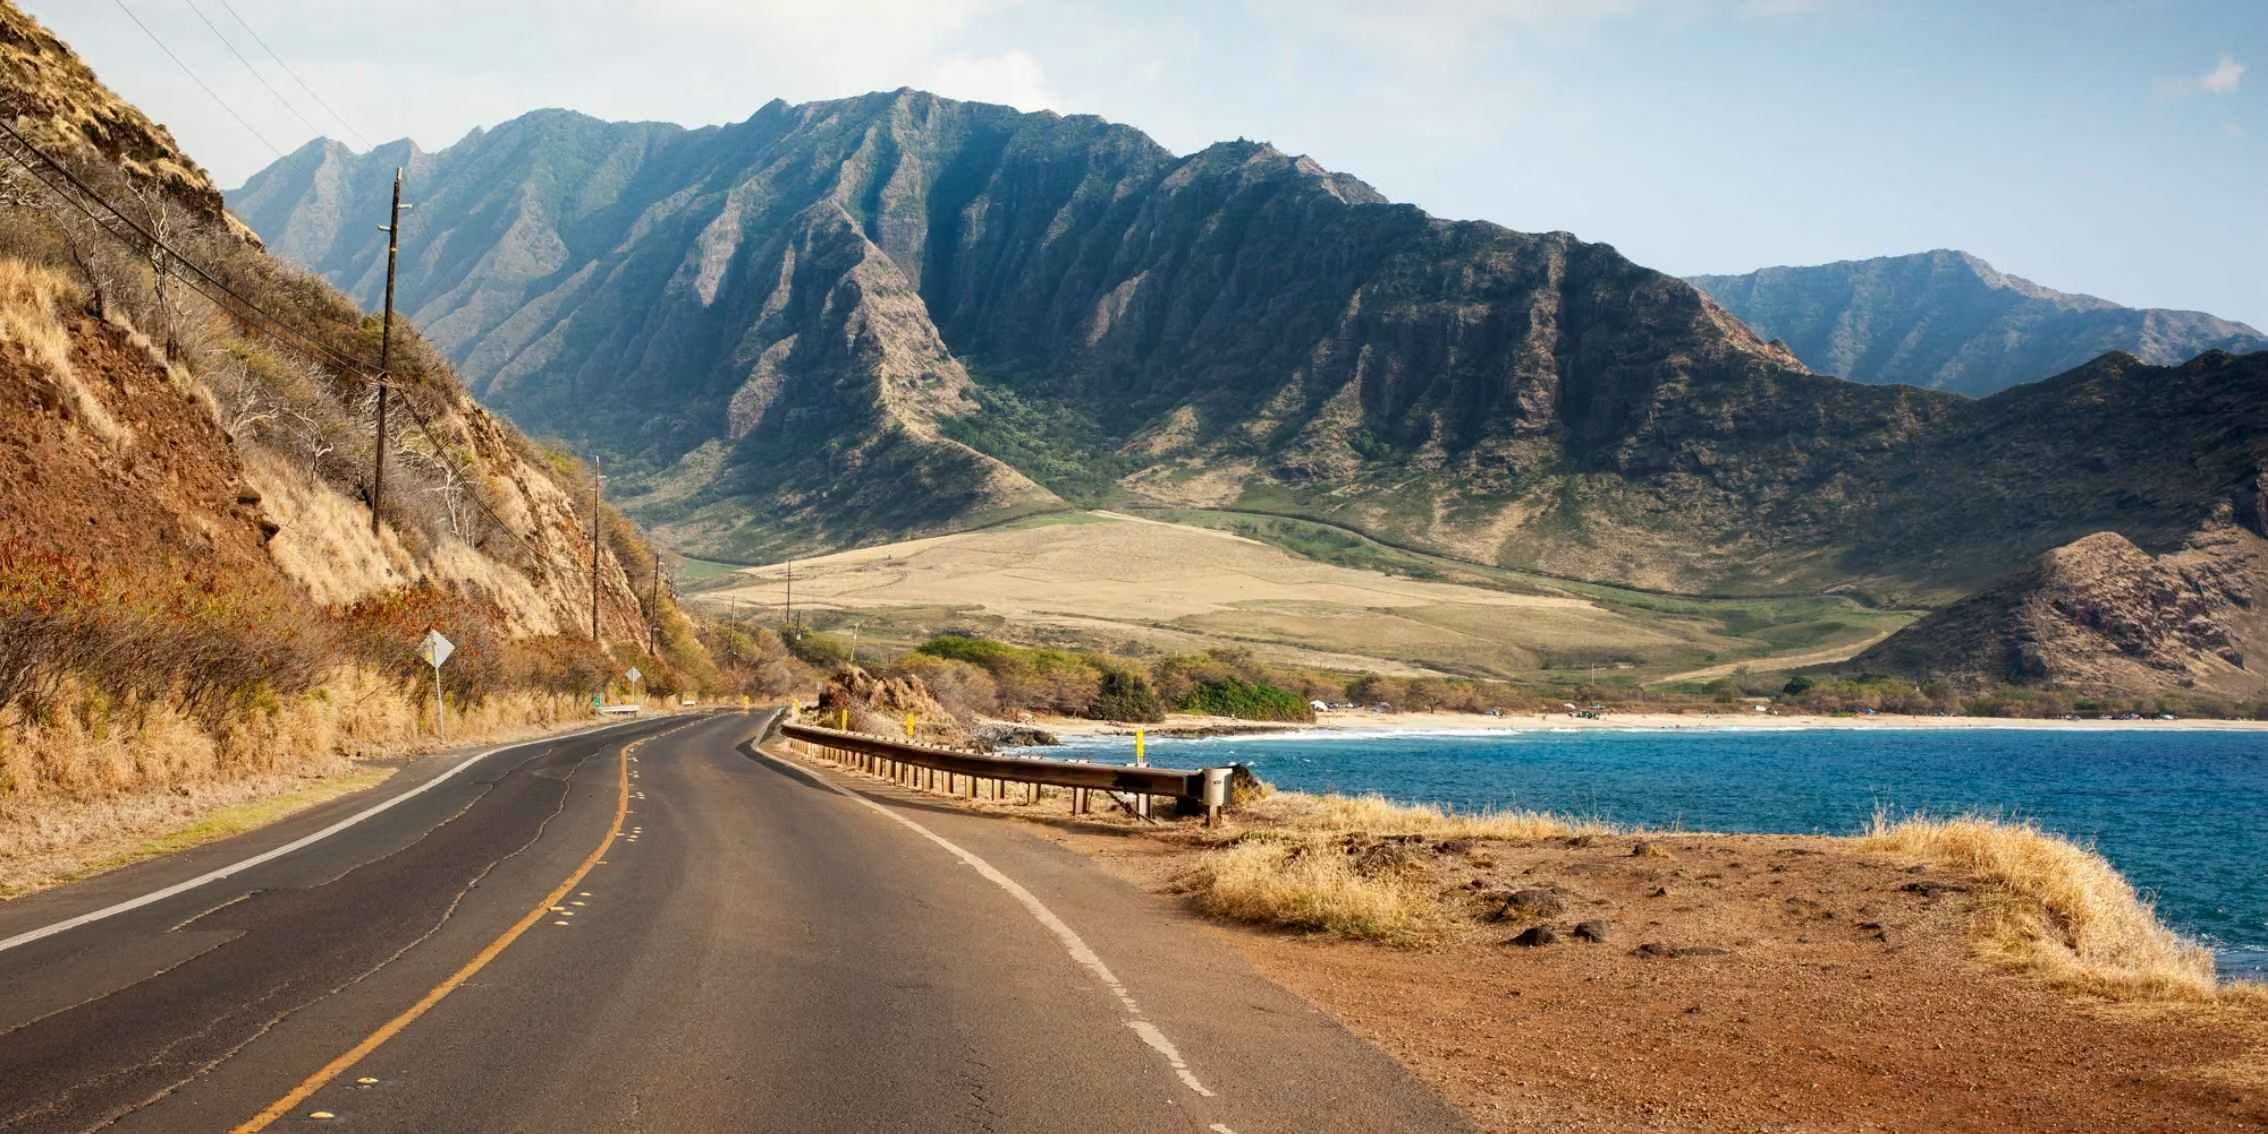
 Image Source: Jakob Owens - Unsplash
Set your camera to RAW+JPEG mode if you want the best of both worlds. You'll get a pre-baked JPEG for instant sharing on social media and a high-quality RAW file for professional editing or printing later.
It depends. Shooting in RAW can slow down your burst rate because the files are much larger and take longer for the camera to save. Use high-speed memory cards to keep your camera buffer clear during fast action like sports or wildlife photography.
Use the export settings in your editing software to lower the resolution or increase the compression level. You can also use free online tools to strip unnecessary metadata and shrink the file size while keeping the image sharp for the web.
Go to your iPhone settings under Camera and Formats then select Most Compatible to ensure all future photos save as JPEGs. This simple change prevents your phone from using the HEIC format which can be difficult to open on some computers and apps.
Consider using Darktable if you want professional-level RAW processing without paying for a monthly subscription. It provides a massive range of tools to help you recover shadows and adjust colours just like paid industry standards.
Use the native Photos app or download Affinity Photo to open and edit these files on your Mac. These programs have the built-in support required to handle the complex data and metadata found in spherical image formats.
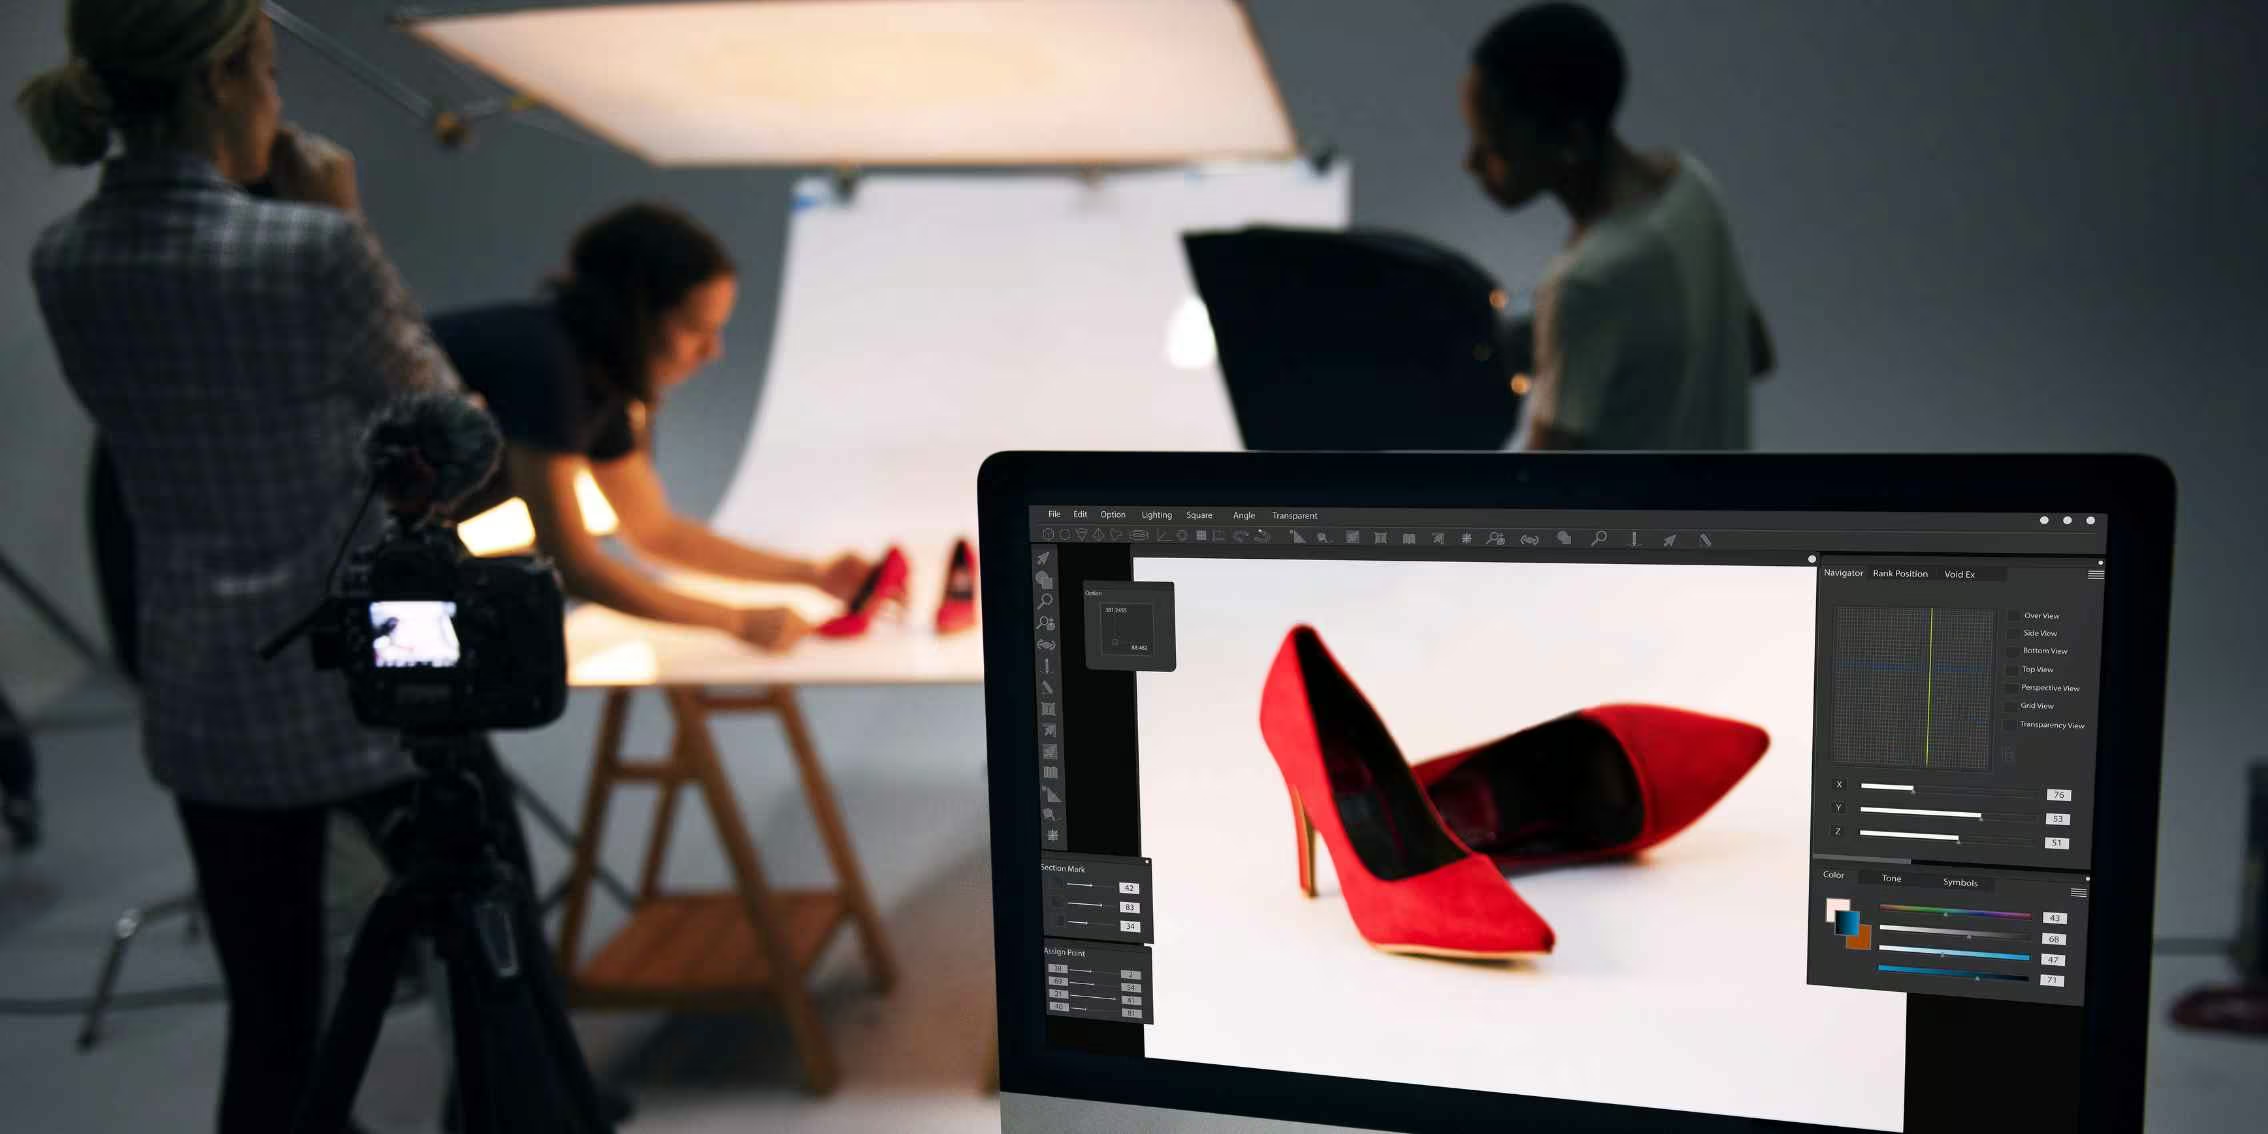
Image Source: Adobe Stock
Lately, things are shifting.
I’ve been working with Fujifilm cameras for about eight years, with the Fujifilm X100F. At 24 megapixels, it produces beautiful files, but I always treated, like I have since the early 2000s, the JPEG as a starting point. It was good, but not always enough on its own for more demanding uses like larger prints or final delivery work. The RAW file was where the image was truly finished.
Now, the RAW file has taken on a slightly different role for me. It has become more of an insurance policy. It’s always there, but I find myself reaching for it far less often than I used to.
That shift highlights something important about JPEG. Everything is baked in. The colour, contrast, exposure decisions, all of it is finalised the moment you press the shutter. When those choices are right, the result is a finished file that is fast, efficient, and ready to go. There is something very satisfying about that, especially when working in a way that values getting it right in camera.
At the same time, that baked-in nature is also the limitation. If the exposure is slightly off, if the colour balance is not quite right, or if the light presents challenges you did not fully account for, the JPEG has very little room to recover. You can adjust it, but you can rarely reshape it and truly get it right.
That is where RAW still matters. It holds the full depth of information from the scene and allows you to correct and refine when things are not quite perfect. Those moments still happen, because photography, like life, rarely unfolds under ideal conditions.
So, the question is not which format you should choose. It is how you want to work. For me, JPEG has become more capable than ever, especially with newer, better, larger sensors, while the RAW file remains a safety net in the background.
In the end, I still shoot both. Not out of habit, but because together they offer both immediacy and flexibility. And that combination continues to serve me and my clients very well.
Steven Vote
Charleston, South Carolina
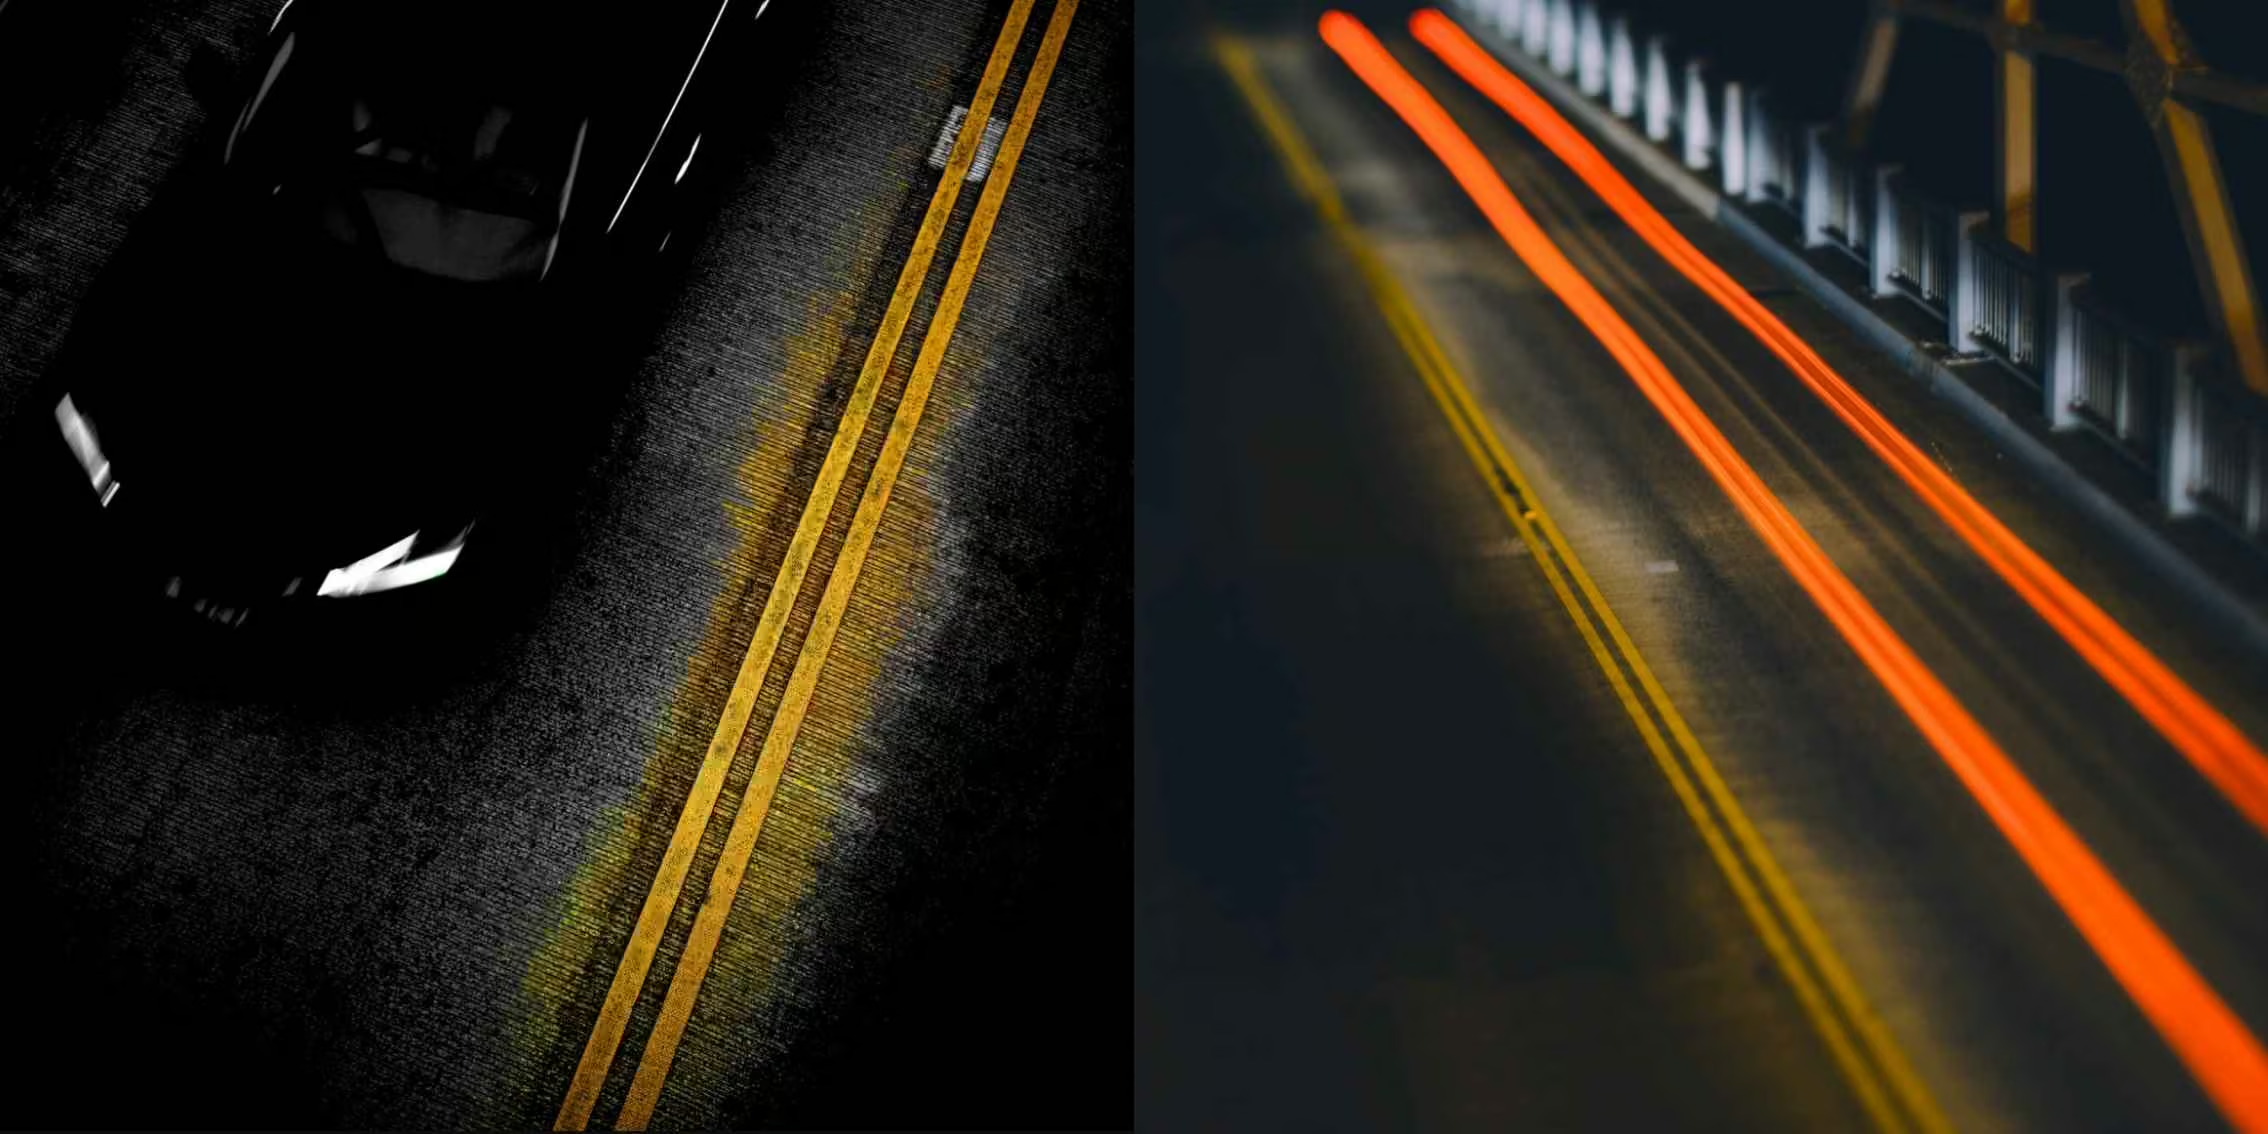
Image Source: PI Tutor Steven Vote www.stevenvote.com

Tutor at The Photography Institute
Internationally acclaimed, Steven Vote is a photographer, storyteller, director, twice published author, mentor, fine artist, and filmmaker.
Published:
Our online photography course turns your natural eye into professional skills. You'll build the technical foundations that make your images stand out. In Module 4, you'll master the digital process by learning how to take full advantage of your camera's RAW settings and colour spaces. We'll show you how to use histograms and in-camera controls to capture the highest quality data possible.
Module 9 takes your work into the professional darkroom. You'll learn to handle 16 bit files and choose the right formats like RAW, TIFF and PSD for high-end printing. We help you understand resolution and bit depth so your final prints look exactly as you intended.
Whether you're dreaming of starting your own studio, working freelance, or simply levelling up your skills, this is the course for you. Download our free prospectus and see how you can turn your passion into a professional career.
©2026 The Photography Institute. All rights reserved.