

Image Source: Allef Vinicius & Pascal Debrunner - Unsplash
Most photographers get stuck at eye level because it's comfortable. It's also why so many portfolios feel repetitive and flat. Mastering the worm's-eye view is how you command attention by forcing the viewer to look up at your subject.
This guide shows you how to turn a simple low-angle shot into a high-impact professional asset. We'll cover the gear you need and the technical traps to avoid when shooting from the dirt.
In short...
Our online photography course shows you how to integrate these creative angles into a professional commercial workflow.
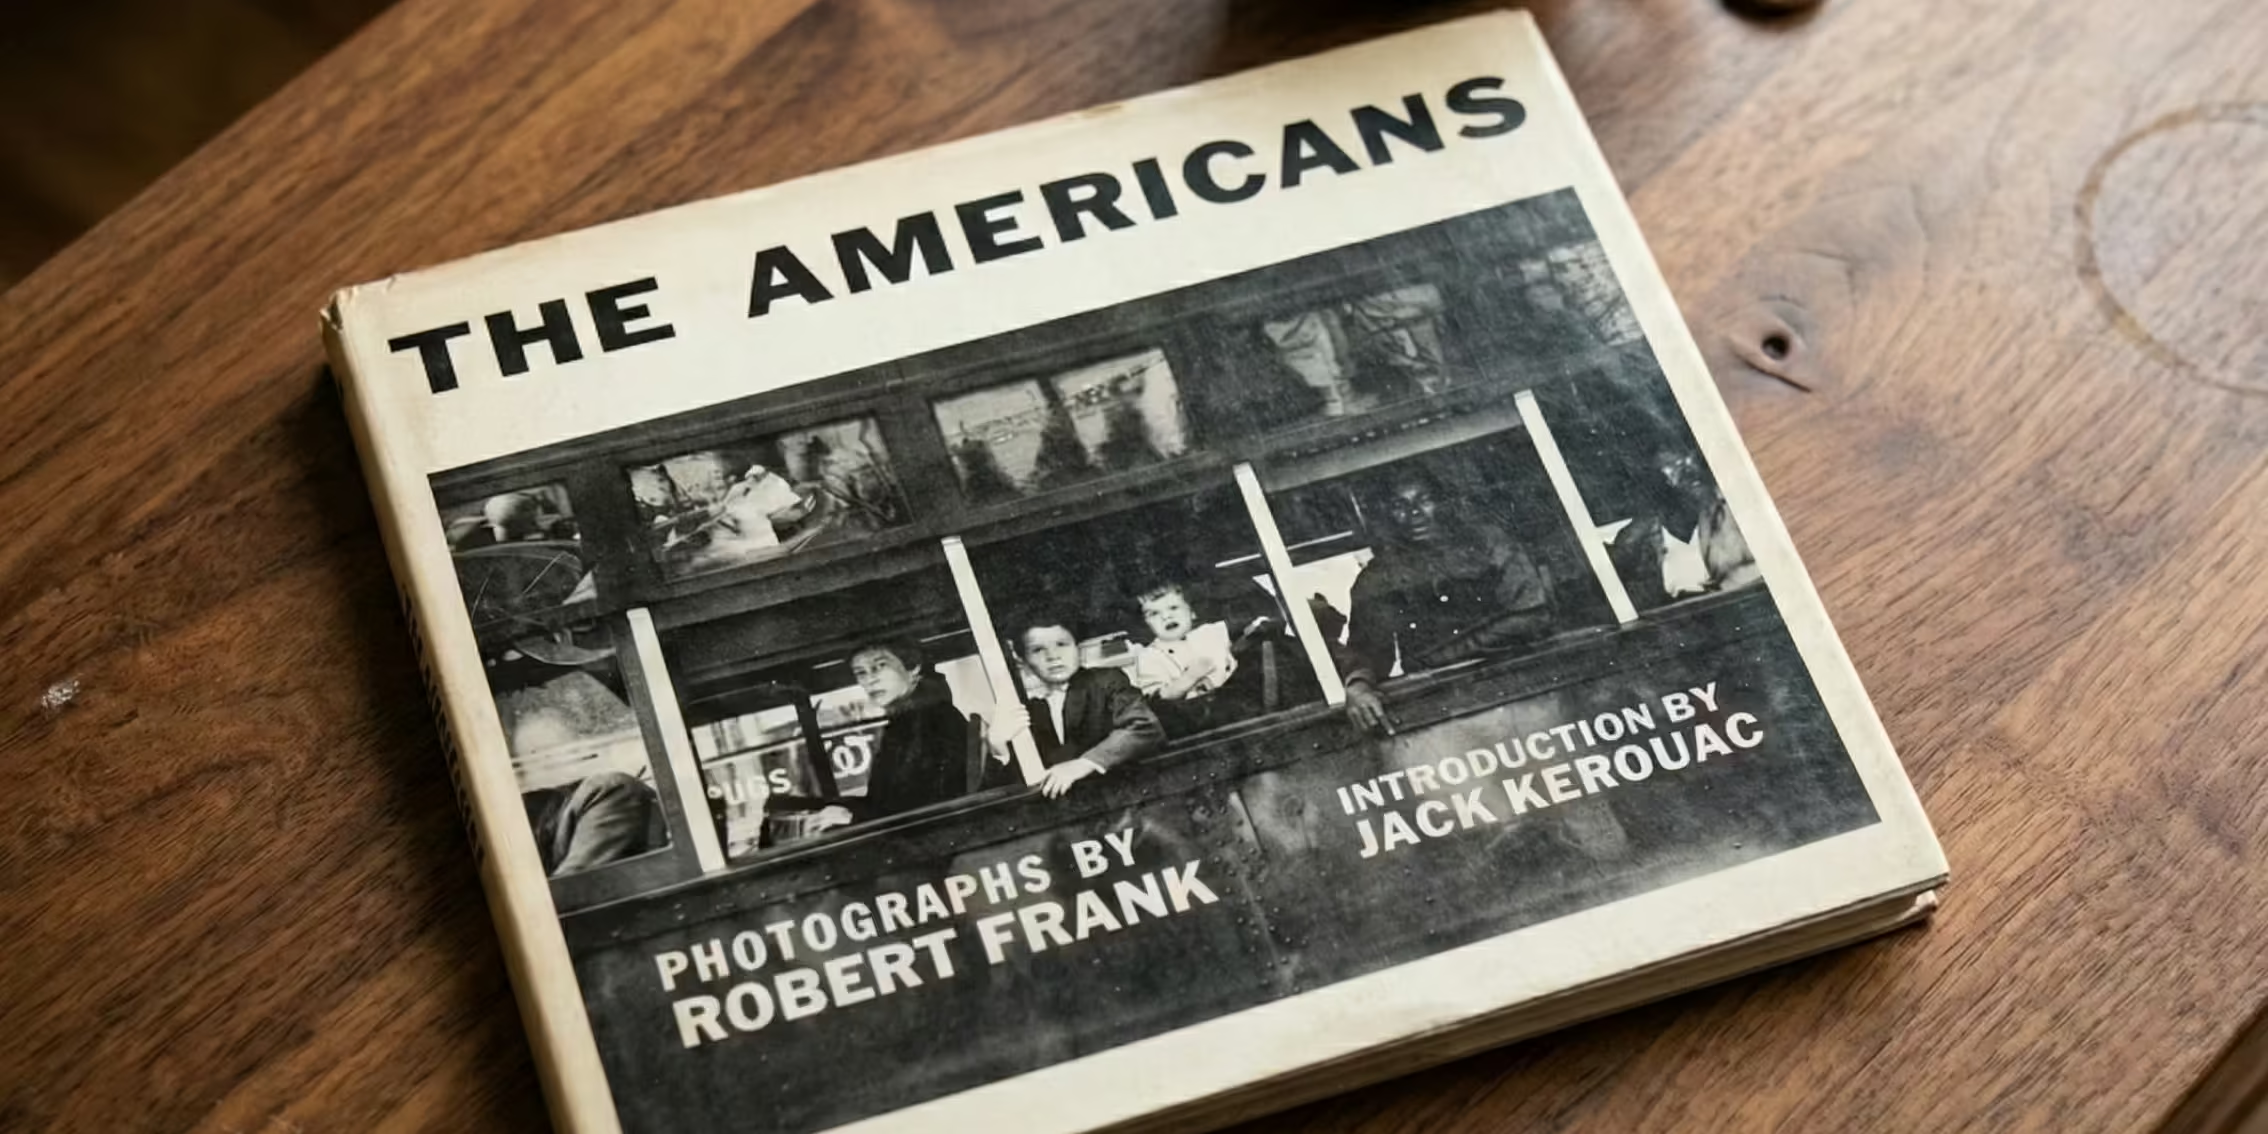
A worm's-eye view is a low-angle shot taken from a position below the normal line of sight. In professional photography, this means placing the camera at or near the floor to look upward. It differs from a standard low-angle camera shot because it often involves the camera being physically on the ground. This perspective mimics the view of a small creature looking up at a much larger world.
Master the language of the industry from aperture to perspective in our Ultimate Photography Glossary for Beginners.
We use this three-part framework to help you decide when a low-angle shot is the right choice for your brief. It moves you away from "guessing" and toward intentional design.
Find more pro tips in our essential guide: How to Start a Photography Business in Under 30 Days.
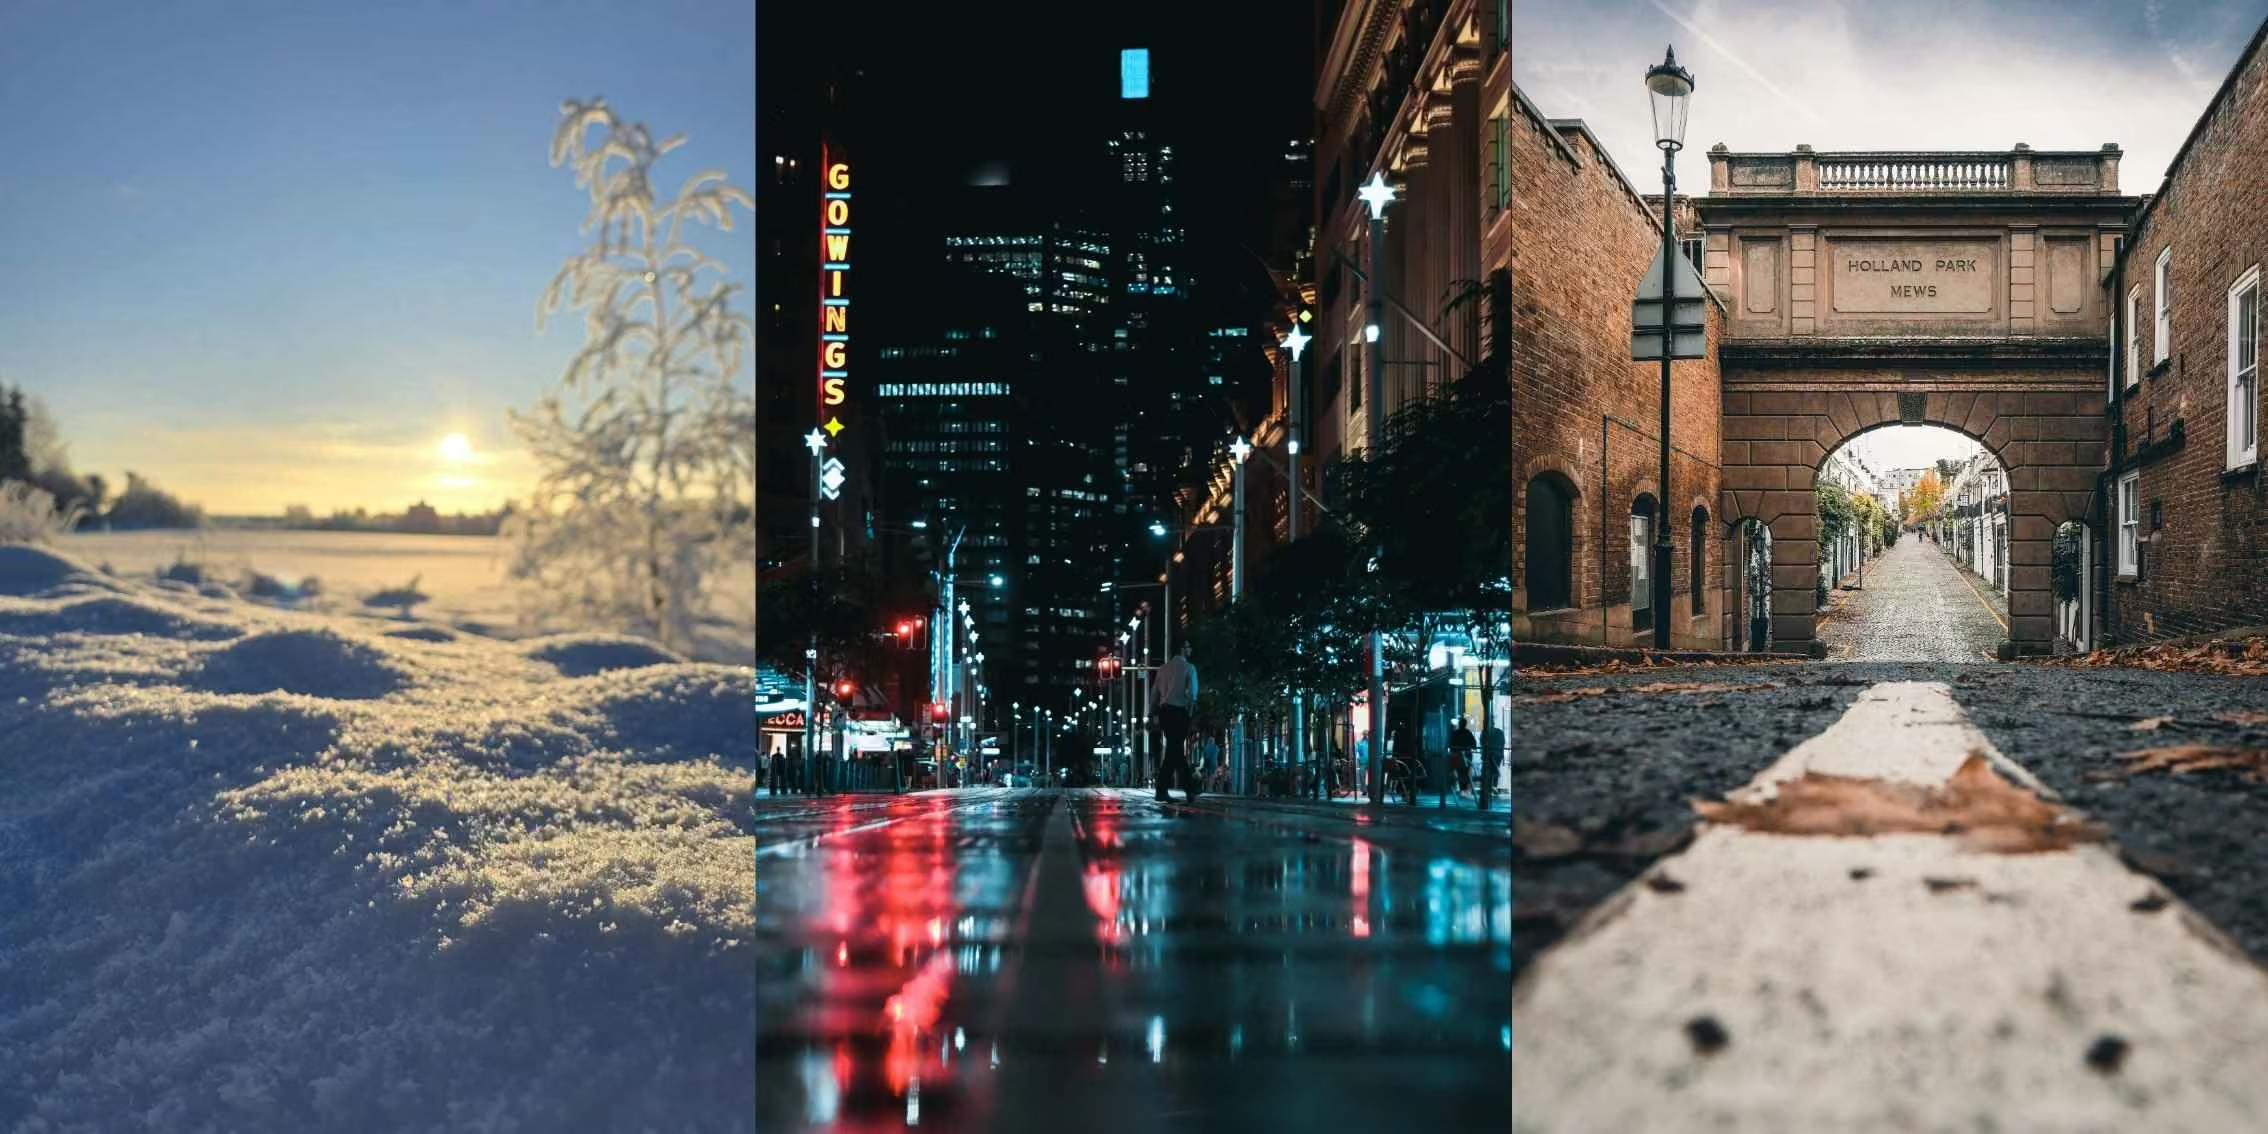
Image Source: Konstantin Bel, Nick Jones & Andrea de Santis - Unsplash
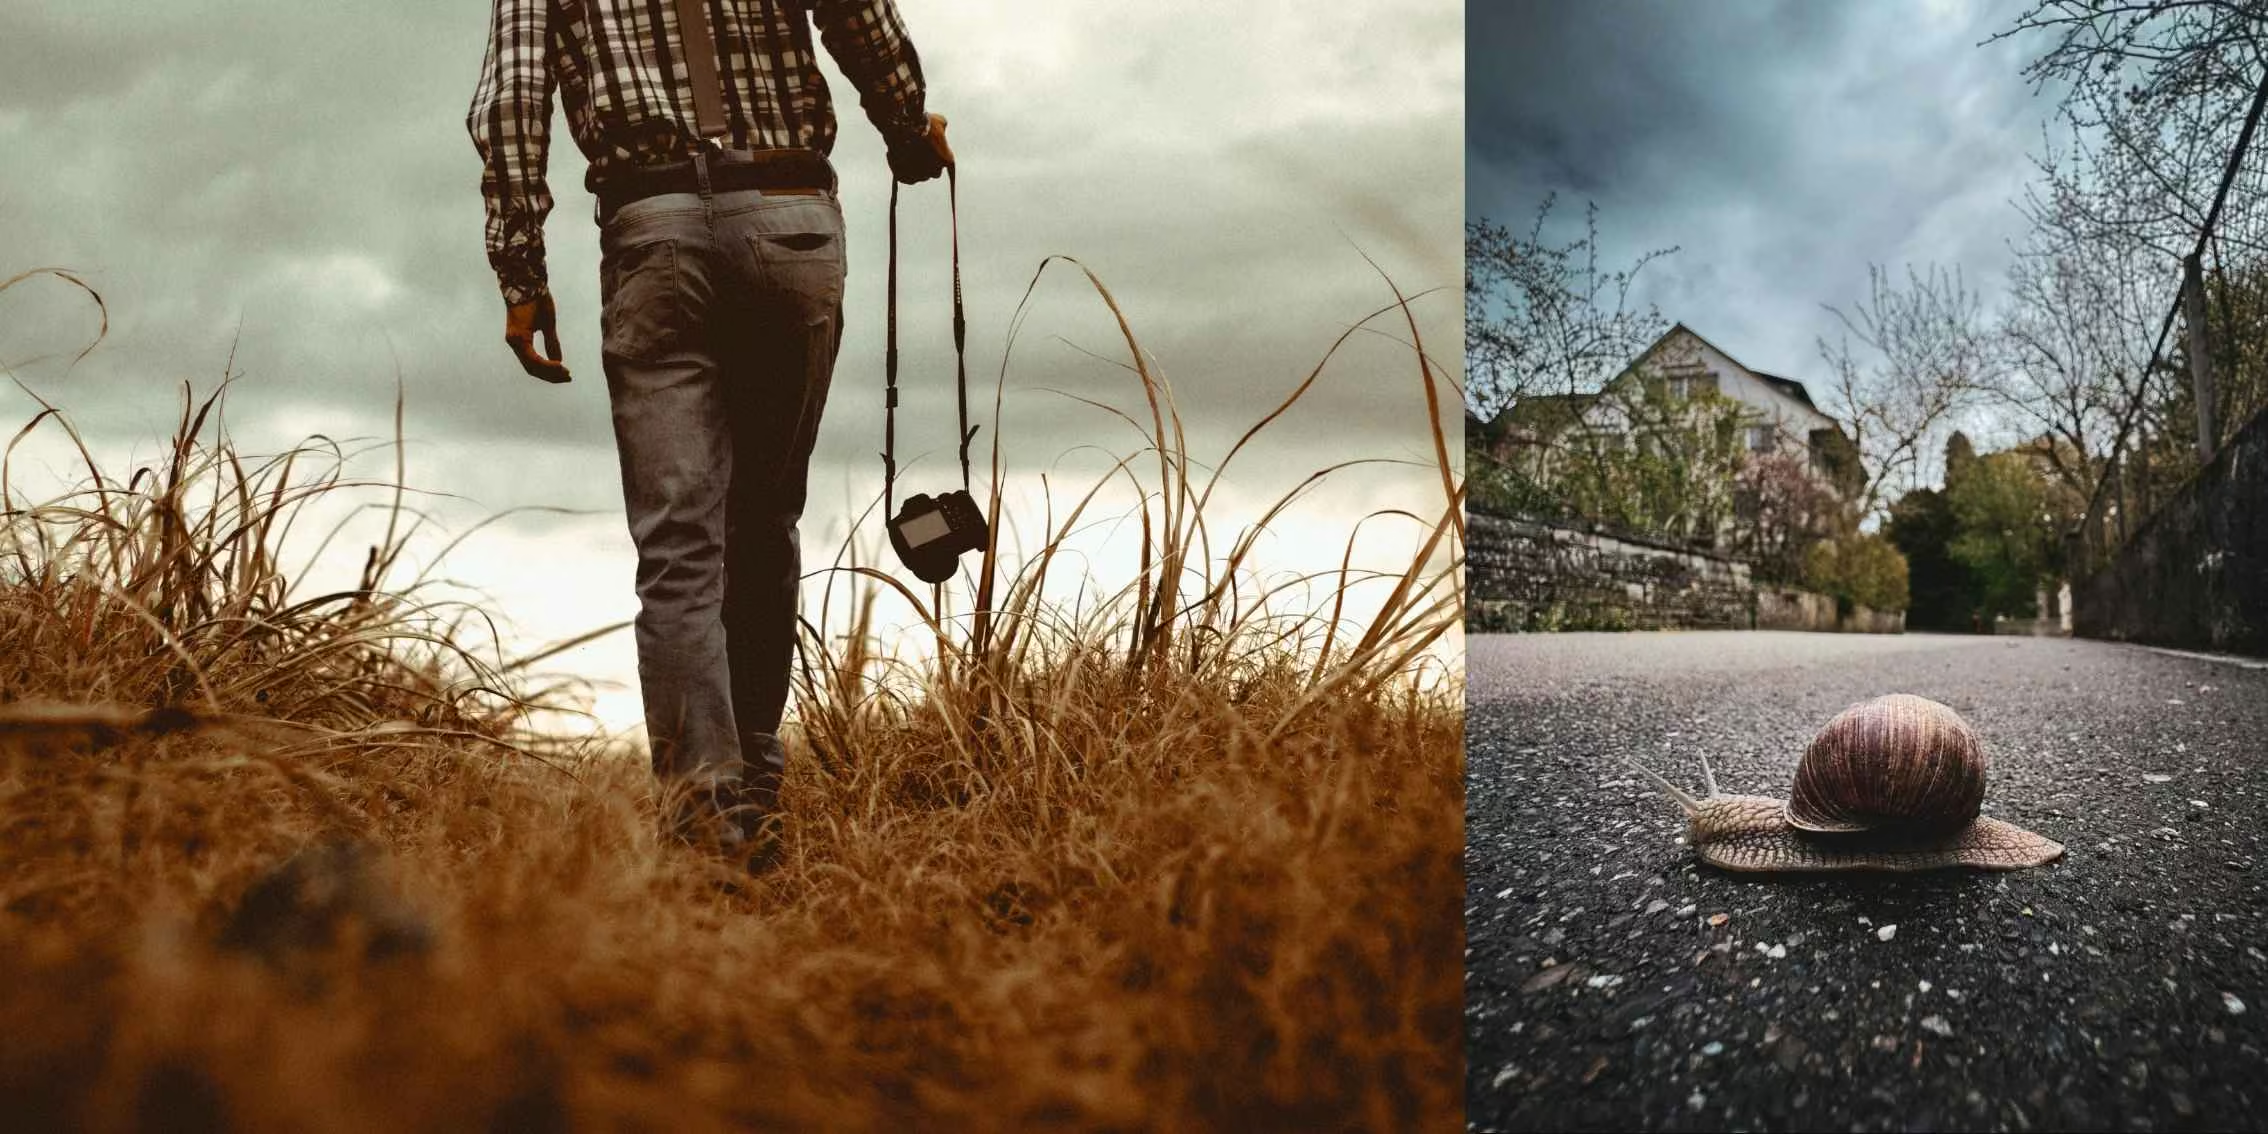
We use these real-world examples to show how a low-angle shot transforms a scene. Visuals upfront help you see the technical theory in practice.
Discover how to lead the eye through your frame from the ground up in our blog: Compositional Magic: Using Lines, Layers, and Leading Lines for Depth.
Selecting the right glass is the first step toward a successful ground-level composition.
Learn how to select the perfect angle for any brief in our guide: Putting Theory into Practice: Choosing the Right Camera Shot.

Image Source: Ethan Hoover, David Hofmann & Conner Bowe - Unsplash
Shooting from the floor changes the physics of your image. You need to adjust your settings to handle the new relationship between your lens and the light.
You don't need a massive budget to master worm's-eye view photography. You just need the right tools to protect your back and your camera.
This is where many beginners struggle. They take a low shot just because they can rather than because it serves the story. Mastering the worm's-eye view perspective helps you move from snapshots to intentional art.
Use this checklist to ensure your next shoot is professional. Moving your camera to the ground is one of the fastest ways to transform a boring scene into a cinematic moment.
✅ Tilting screen or external monitor ready.
 Image Source: #PIstudent David
Huisman
davidhuismanphotography.net
Image Source: #PIstudent David
Huisman
davidhuismanphotography.net
A low-angle shot is any photograph taken with the camera positioned below the subject's eye line, looking upwards. This technique is a fundamental part of visual storytelling that adds immediate drama and changes how we perceive the scale of a scene.
A low-angle shot is frequently referred to as a worm's-eye view when taken from the ground looking straight up at a subject. Professionals also call it a floor-level shot or a pavement perspective, depending on the specific height of the lens.
To take a low-angle shot, crouch down or place your camera on the floor to capture your subject from below eye level. Using a wide-angle lens and a tilting screen helps you compose the frame without needing to lie in the dirt.
Worm's-eye view means capturing an image from the perspective of a small creature on the ground looking up at the world. It is the lowest possible camera angle you can achieve to create a sense of heroic scale and architectural authority.
A low-angle shot is any photo taken from below eye level, while a worm's-eye view specifically refers to shots taken from the lowest possible point. This usually means the camera is sitting directly on the ground for an upward perspective.
The effect of a worm's-eye view is to make your subject look taller, more powerful, and significantly more imposing to the viewer. It stretches vertical lines to create a sense of endless height while making the foreground feel immersive and gritty.
Yes, a worm's-eye view creates a three-point perspective because the vertical lines of buildings or trees converge at a third vanishing point high in the sky. You'll master these geometric principles of composition during the advanced modules of our photography course.
People use a worm's-eye view to add cinematic drama and break the boring habit of shooting every photo from a standing position. It is an essential tool for architectural and fashion photographers who want to command attention through unique and powerful perspectives.
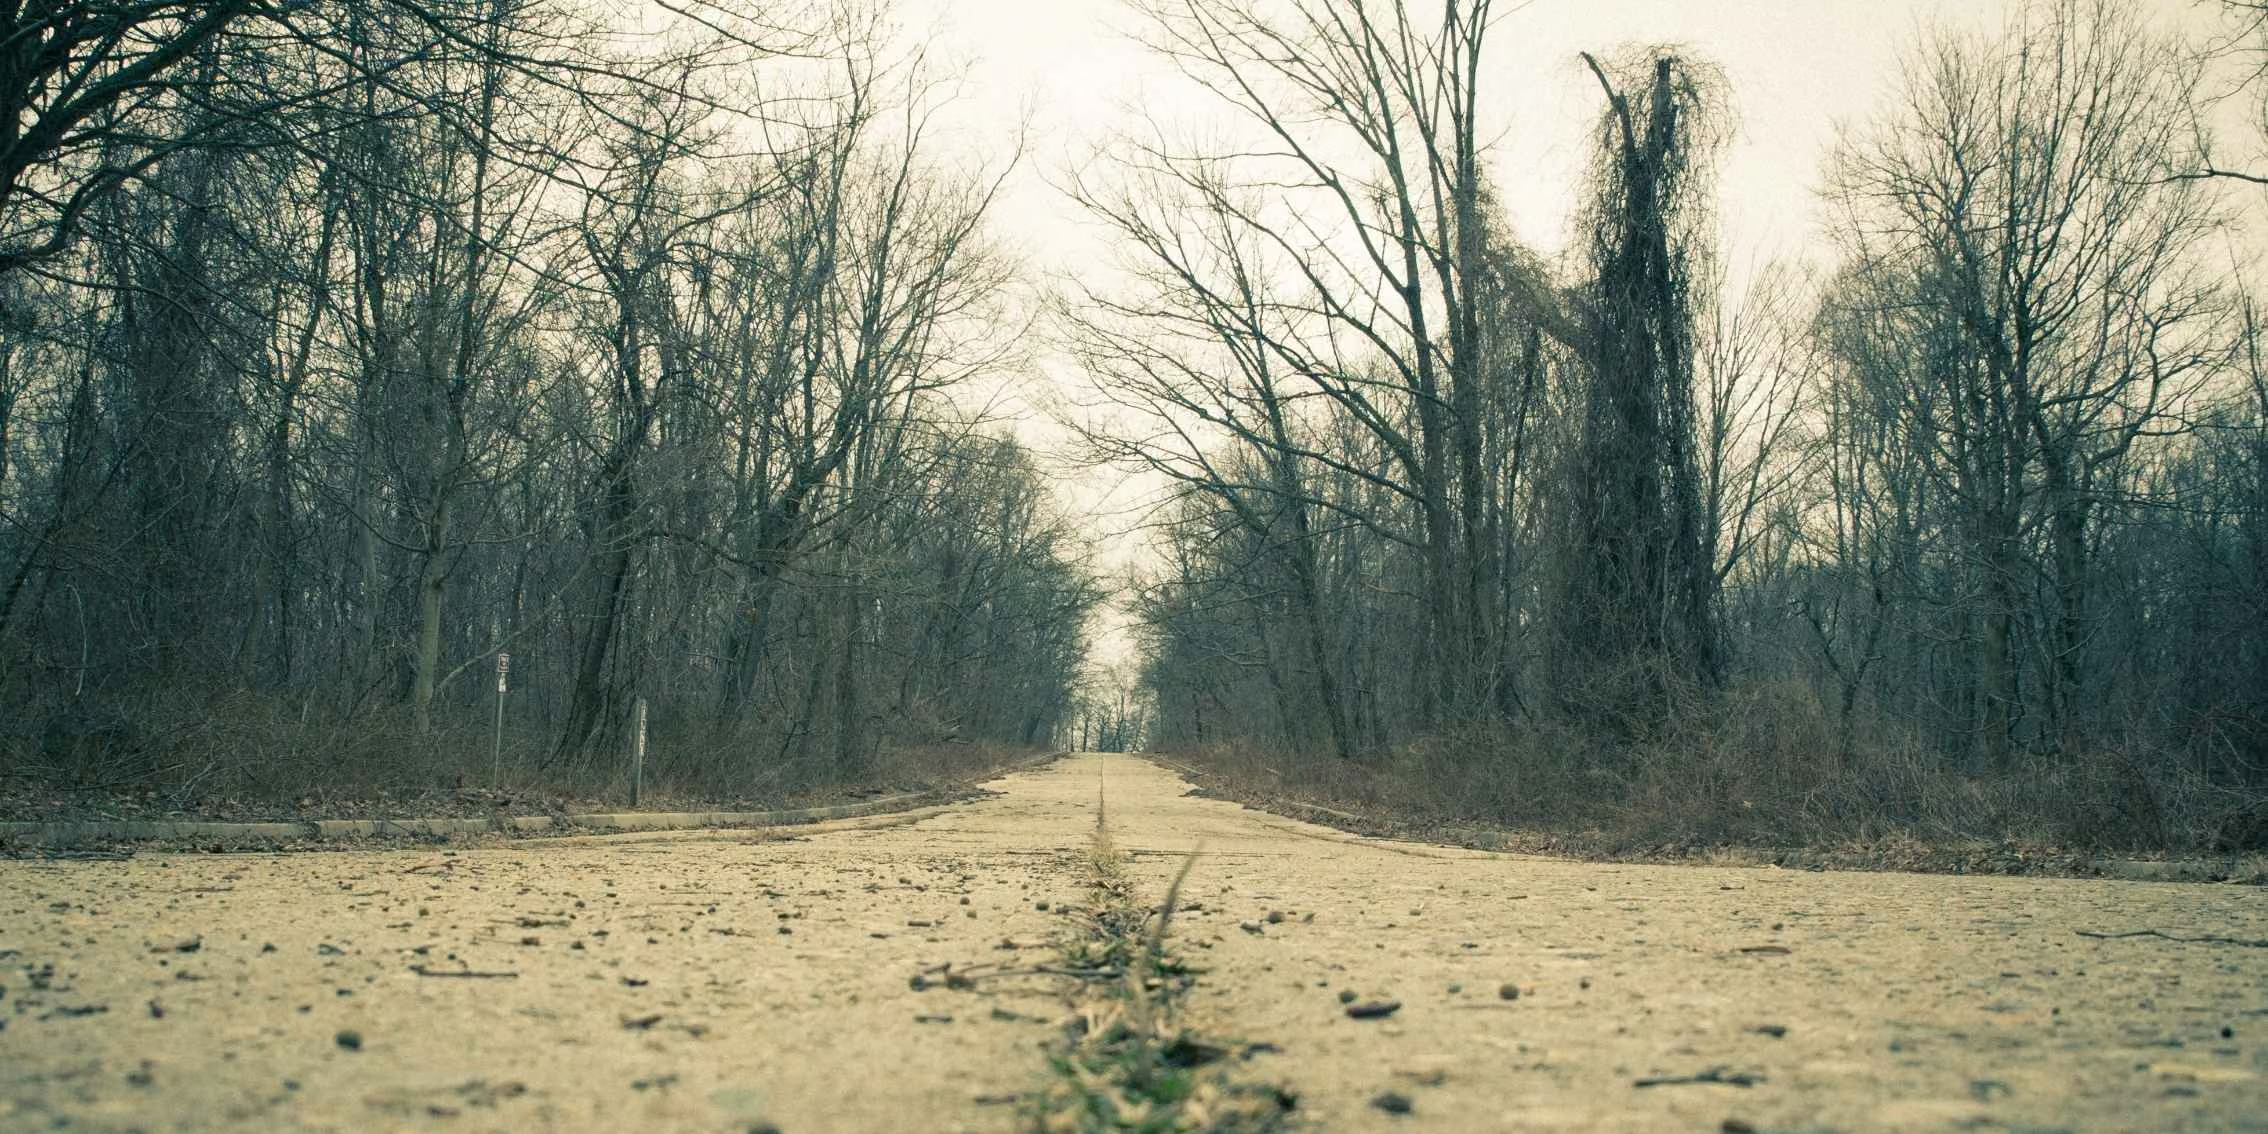
Image Source: Adobe Stock
Using a great quality lens will help with creating amazing imagery. Lenses are named and described by their focal length and largest aperture capability. For example, 50mm f/1.8

Tutor at The Photography Institute
Justin Aitken is a Multi Award Winning Professional Photographer. His expertise, creative quality and specialty can be seen in his portrait, lifestyle and wedding photography. His personal work consists of music, landscape and travel photography.
Published:
Master these skills and build a professional portfolio with our online photography course. In Module 5, Light and Colour, we teach you how to previsualise and think like a camera so you can capture professional angles that move beyond the simple snapshot. You’ll learn exactly how natural light interacts with surface textures to create high-impact commercial imagery.
Download your free prospectus to start building the career your talent deserves.
Embark on a journey of inspiration, creativity, and expertise through our array of Photography blog posts featuring insights, student showcases, and expert tips.

©2026 The Photography Institute. All rights reserved.