

Image Source: Adobe Stock
Learning photography can feel a bit like speaking a new language, filled with lots of confusing and complicated terms. But don't worry, this isn't just another dry dictionary! Make this photography terms list your go-to guide. We break down the jargon with clear definitions, practical applications, and examples to boost your skills. Remember, photography is a journey, and understanding these terms is the first step toward mastering your craft!
Aperture: The adjustable opening in your lens that controls light and depth of field. A wider aperture (small f-number) is great for low light and blurred backgrounds. A narrower one (large f-number) keeps more in focus and ideal for landscapes.
Aspect Ratio: The proportional relationship between an image's width and height. It influences your composition and dictates printing and display. A standard shot with most DSLRs and mirrorless cameras will be in a 3:2 aspect ratio.
Autofocus: A camera system that automatically adjusts the lens to achieve sharp focus on a subject. It's ideal for quickly capturing moving subjects or when you need fast, precise focus without manual adjustments.
Autofocus Points: Specific areas on your camera's sensor or in the viewfinder that the autofocus system uses to detect and lock onto subjects.
Backfocus: An error causing the camera to focus just behind the subject, resulting in a consistent blur.
Backlight: Where the main light source is placed behind the subject, facing the camera. This can create dramatic silhouettes and a glowing effect.
Backlit Photography: When the main light source is placed behind your subject, creating dramatic silhouettes, glowing edges, or a soft, ethereal mood.
Balance (in Composition): The visual weight of elements within an image, often using symmetry to create a sense of stability and harmony.
Blurring: Intentional or unintentional softening of detail in a photo, blurring can be creatively used for effects like blurred backgrounds (bokeh) or motion blur, by adjusting aperture or shutter speed. Learn more in our Guide to Motion Blur Photography.
Bokeh: The aesthetic quality of the blur in the out-of-focus areas of an image, often using a wide aperture (small f-number), which helps your subject stand out.
Bracketing: Taking multiple photos at slightly different exposure settings to ensure a perfectly exposed image or to create HDR compositions in post-processing.
Burning and Dodging: Darkroom techniques (now often done digitally) to selectively lighten (dodge) or darken (burn) specific areas of a photo.
Burst Mode: A camera setting that allows you to rapidly capture a sequence of photos with a single press of the shutter button.
Burst Rate: The number of photos your camera can capture per second in Burst Mode, ideal for freezing fast-moving action and capturing decisive moments.
Center-weighted Metering: This metering mode evaluates the light in the center of your frame, giving less consideration to the edges. It's useful when your main subject is in the middle and you want its exposure to be accurate.
Chromatic Aberration: A common flaw where the lens fails to focus all colors to the same convergence point, appearing as colored fringes (often purple or green) around high-contrast edges in your photo.
Clipping (Highlights and Shadows): When areas of your photo are so bright (highlights) or so dark (shadows) that they lose all detail and appear as pure white or black.
Color Grading: A post-processing step that adjusts color and tone to create consistency in a series or a desired mood or style.
Color Space (sRGB, AdobeRGB): Defines the range of colors a device, like a camera or monitor, can display or capture.
Color Temperature: Measured in Kelvin (K), this describes the warmth or coolness of a light source, influencing the overall color cast in your photographs.
Composition: The arrangement of elements within your photograph to create a visually engaging image.
Composite Photography: This technique involves combining two or more separate images to create a single, unified photograph.
Continuous Autofocus: A mode that continuously tracks and adjusts focus on a moving subject as long as the shutter button is half-pressed, ideal for action photography.
Depth of Field: The range of distance in a photograph where objects appear sharp, controlled by using your aperture setting. Learn more in our Guide to Mastering Depth of Field.
Depth of Field Scale: A marking on some lenses or an on-screen display indicating the approximate range of distances that will appear sharp at a given aperture.
Depth of Field Preview: A camera function that temporarily closes the lens aperture to your selected setting, allowing you to see how much of your image will be in focus before you take the shot.
Digital Zoom: This feature digitally magnifies a portion of your image by cropping and enlarging it. It significantly reduces image quality compared to optical zoom.
Dolly Zoom (Vertigo Effect): A cinematic technique where the camera moves towards or away from the subject while simultaneously zooming, making the background appear to change size relative to the foreground.
Double Exposure: Combining two separate images into a single photograph, achievable in-camera or in post-processing, for surreal or artistic effects.
DSLR vs Mirrorless: The two main types of interchangeable-lens cameras. DSLRs use a mirror for an optical viewfinder, while Mirrorless cameras send light directly to the sensor.
Dynamic Range: Refers to the full range of light intensities, from the darkest shadows to the brightest highlights, that your camera sensor can capture in a single photo. Learn more in our Guide to Dynamic Range.
Exposure Bracketing: Taking several photos at slightly different exposure levels (under, normal, overexposed) to ensure the correct exposure.
Exposure Compensation: Manually adjusting the brightness of your image, making it intentionally lighter or darker than what the camera meter recommends.
Exposure Latitude: How much a digital sensor or film can be over- or underexposed while still retaining usable detail.
Exposure Triangle: The three main settings that control a photo's exposure: Aperture, Shutter Speed, and ISO. Learn more in our Guide to the Exposure Triangle.
Fill Flash: Using a flash to illuminate shadows on your subject, typically in bright sunlight or with strong backlighting, to balance exposure.
Fill Light: Any additional light source used to lighten shadows on your subject that are caused by the main light. It helps reduce harsh contrasts and reveals more detail.
Flash Sync Speed: The fastest shutter speed at which your camera's shutter is fully open when the flash fires, ensuring the entire frame is illuminated.
Focal Length: The distance from the lens's optical center to the camera's sensor when the subject is in focus, influencing how much of the scene is captured and how close subjects appear.
Focus Breathing: The slight change in a lens's focal length or magnification as the focus is adjusted from near to far.
Focus Lock: This function allows you to fix the focus at a specific distance or on a particular subject, even if you recompose the shot.
Focus Points: Specific areas within your camera's viewfinder or LCD screen that the autofocus system uses to detect and achieve focus.
Focus Stacking: A technique where multiple photos are taken at different focus distances and then combined in post-processing, allowing for a greater depth of field than a single shot.
Framing: A composition technique using elements within the scene to create a natural border around your subject.
Golden Hour: Just after sunrise or before sunset when the sun is low in the sky, casting a soft, warm, and diffused light that's perfect for photographs.
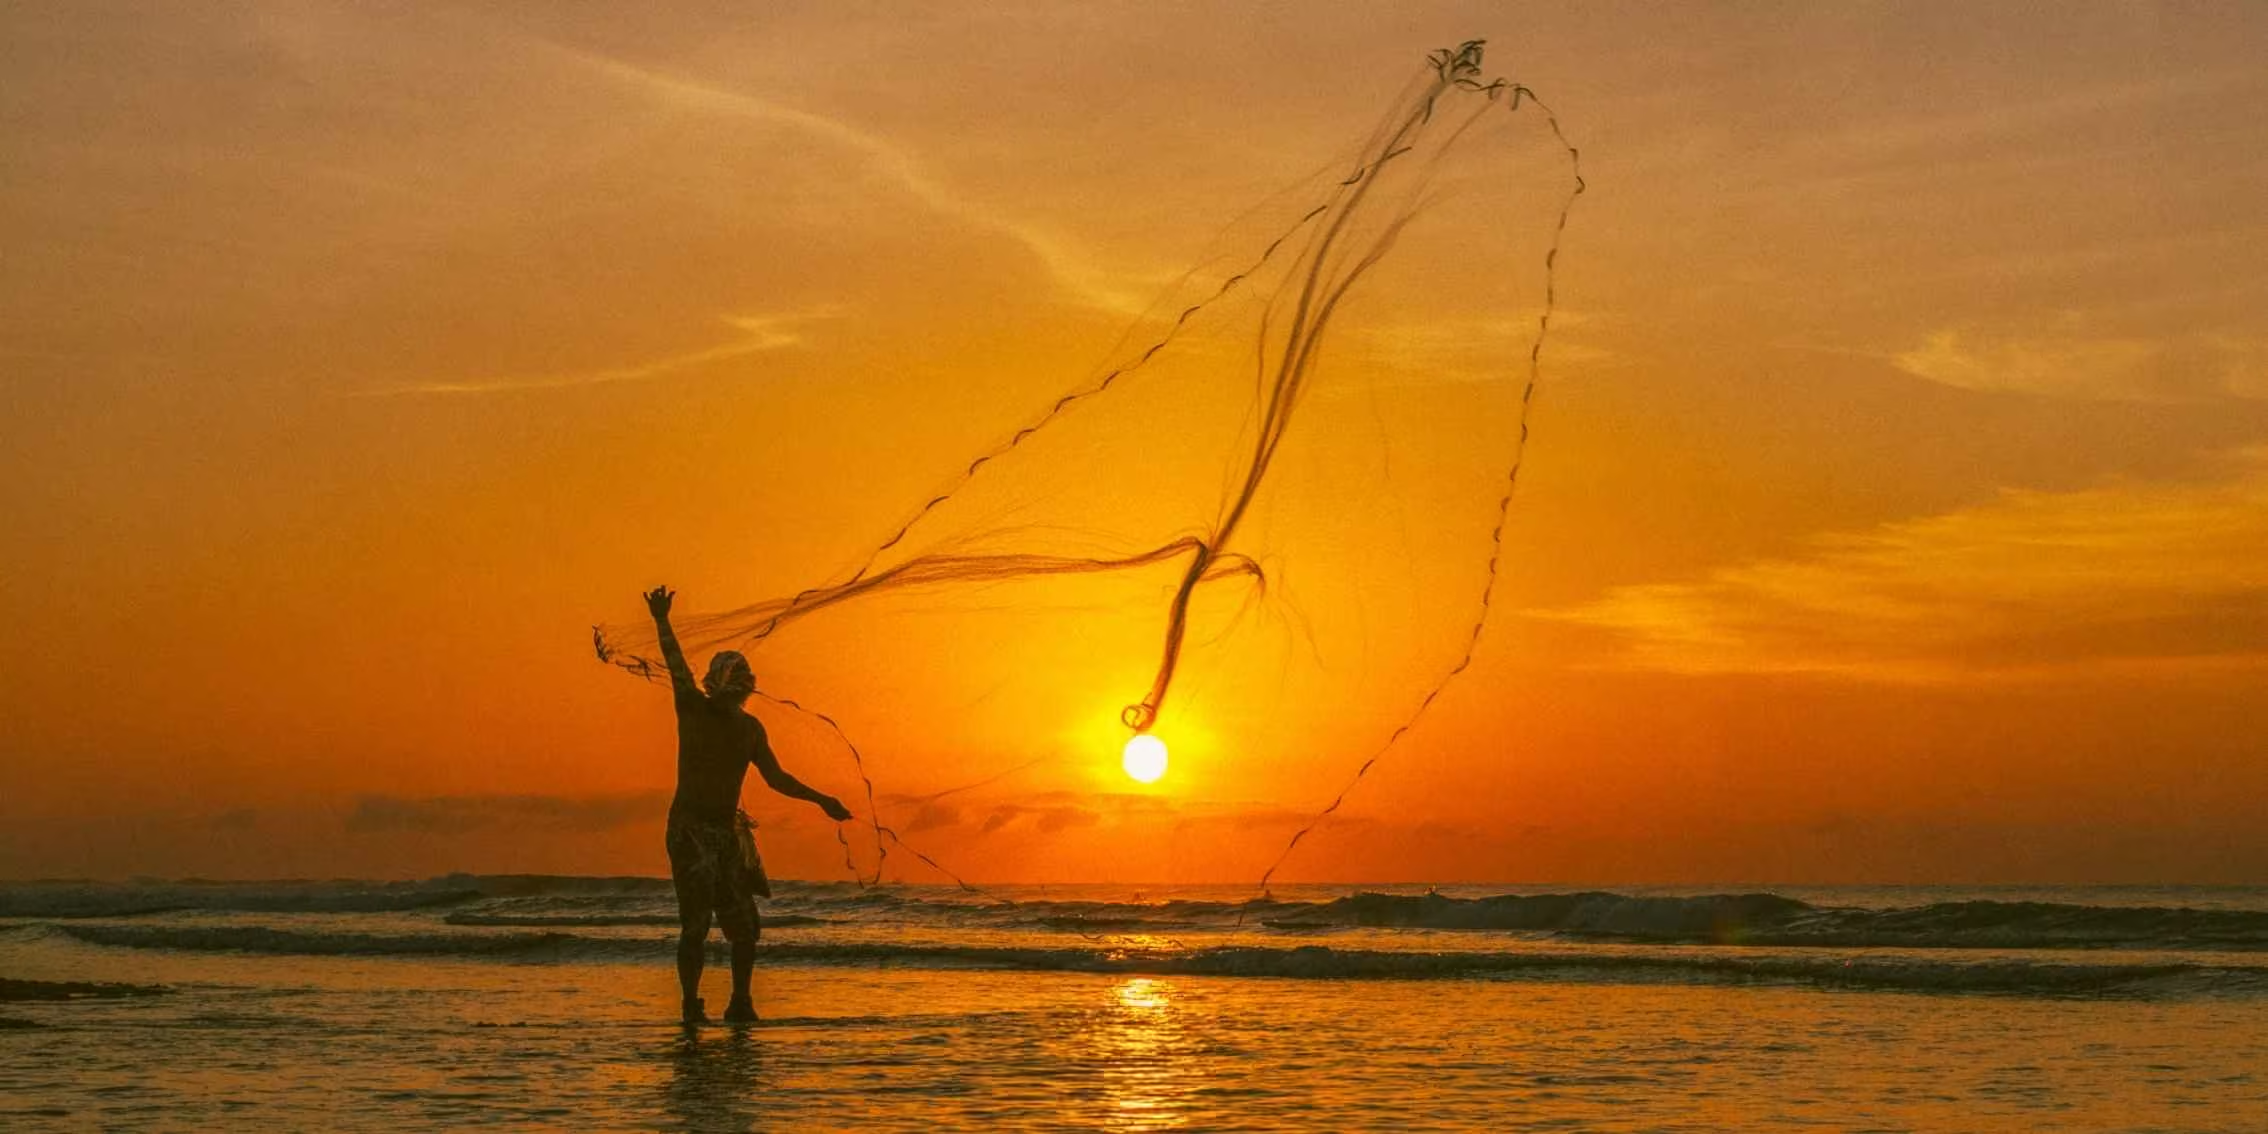
Image Source: PI Tutor Justin Aitken - www.justinaitken.com
Graduated ND Filter: A type of Neutral Density filter, dark on one half and clear on the other, used to balance exposure when one part of your scene is significantly brighter than another.
High Dynamic Range (HDR): A technique that combines multiple exposures taken at different brightness levels into a single image, capturing a wider range of light and shadow detail.
Histogram: A graph that displays the tonal range of your image, showing the distribution of pixels from the darkest shadows to the brightest highlights.
HSL (Hue, Saturation, Luminance): The three key components of color, often used in photo editing software. Hue is the color itself, saturation is its intensity, and luminance is its brightness.
Image Stabilisation (IS): A camera or lens feature that reduces blur caused by camera shake, especially when shooting handheld or in low light.
Image Resolution: This refers to the level of detail an image holds, measured in pixels, indicating its sharpness and how large it can be printed effectively.
Infrared Photography: Captures light from the infrared spectrum, invisible to the human eye, creating unique and ethereal images.
ISO: This setting controls your camera's sensitivity to light. A lower ISO (100) is less sensitive and produces cleaner images. A higher ISO (3200) increases sensitivity for low-light situations. Learn more in our Guide to Mastering ISO.
Lens Distortion: This is where straight lines in a scene appear bent due to the optical distortion of the curved lens.
Lens Flare: Streaks, circles, or geometric shapes caused by a bright light source (usually the sun) hitting the camera lens and reflecting internally.
Lens Hood: Attaches to the front of your lens to block light, prevent lens flare, reduce contrast, and offer some physical protection.
Lens Mount: Where the lens attaches to the camera body, allowing the pair to work together. Different camera brands usually typically use different, incompatible lens mounts.
Light Metering: Your camera's process of evaluating light to determine the optimal exposure settings (aperture, shutter speed, ISO).
Lightroom Presets: Pre-saved collections of adjustments in editing software that can be applied to multiple photos with a single click for a consistent look.
Live Histogram: This real-time graph displays the tonal distribution of your scene on the camera's LCD screen, helping you instantly assess and adjust exposure.
Live View: This camera feature displays a real-time image from the sensor to the LCD screen, allowing for composition and focus without using the viewfinder.
Long Exposure: Using a slow shutter speed to capture light over an extended period, often creating a soft, blurred effect.
Macro Photography: Photography capturing extreme close-up images of small subjects, revealing intricate details often invisible to the naked eye.
Manual Focus: Adjusting your lens's focus ring by hand to achieve sharpness, often preferred for critical focus or in challenging autofocus situations.
Metering Modes: Camera settings determine how the built-in light meter evaluates a scene's brightness to recommend optimal exposure for various lighting conditions.
Monochrome Photography: Photography using only variations of a single color, most commonly black and white, to emphasise light, shadow, and form.
Negative Space: The empty area surrounding your main subject, used to emphasise its form, give it breathing room, and simplify the composition.
Neutral Density Filter (ND Filter): A dark filter that reduces light without affecting color, allowing for slower shutter speeds or wider apertures in bright conditions.
Noise: Grain or pixelation in a photo, especially in darker areas or when shooting with high ISO settings. It's digital interference that reduces image quality.
Noise Reduction: An in-camera setting or post-production technique that aims to reduce the grainy or pixelated appearance in photos, often taken at high ISO settings.
Optical Zoom: The physical movement of lens that effectively changes the lens's focal length. It allows you to get closer to your subject without any loss of image quality.
Panning: Moving your camera horizontally to follow a moving subject during a long exposure. This results in a sharp subject against a blurred background.
Perspective: The relative sizes of objects and the relationship between them, influenced by your shooting position and lens choice.
Photographic Composition: The art of arranging elements in your frame to create a visually appealing and impactful image, guiding the viewer's eye to tell a story. Learn more in our Guide to Composition and Depth.
Pixel Binning: Where data from multiple adjacent pixels on a sensor is combined into a single, larger "superpixel" to increase light sensitivity and reduce noise.
Pixels Per Inch (PPI): The density of pixels in a digital image, indicating how many pixels are in one inch of display or print. Higher PPI usually means a sharper image.
Polarising Filter: This filter attaches to your lens to reduce reflections, deepen blue skies, and enhance saturation by blocking specific light waves.
Portrait Mode: A camera setting that selects a wide aperture to create a shallow depth of field, resulting in a sharp subject with blurred background.
Post-production Workflow: The system or process of editing and managing your images, involving steps like importing, organising, editing, and exporting.
Post-processing: Editing digital images using software like Lightroom or Photoshop, often to enhance colors, adjust exposure, and remove imperfections.
Prime Lens: A lens with a fixed focal length (no zoom) and a wider aperture than most zoom lenses. They're often sharper, lighter, and perform better in low light.
RAW File: An uncompressed image file from your camera's sensor, containing all the original data captured, providing maximum flexibility for post-processing.
RAW vs JPEG: Two common image file formats. RAW files are uncompressed and contain all original sensor data. JPEG files are compressed, processed in-camera, and ready to use.
Reflected Light: Light that bounces off a surface to illuminate your subject, creating soft illumination and potentially picking up the color of the reflecting surface.
Reflector: Circular material used to bounce or redirect light onto your subject. It helps to fill in shadows and soften harsh light.
Rembrandt Lighting: A classic portrait lighting technique, characterised by a small, illuminated triangle on the shadowed side of the subject's face.
Resolution: The level of detail an image holds, measured in pixels, or dots per inch for print. Higher resolution means more detail and allows for larger, sharper prints.
Rule of Thirds: A general rule of composition that divides your image into nine equal sections. Placing subjects along these lines or at their intersection creates balance. Learn more in our Guide to Mastering the Rule of Thirds.
Sensor Size: The size of your camera's image sensor. Larger sensors generally offer higher image quality, better low-light performance, and shallower depth of field.
Shading: A sense of darkness or lightness in an image that defines form, texture, and depth.
Sharpening: A post-processing technique used to enhance the apparent crispness of edges and details in a photograph.
Shutter Release: The button or mechanism on your camera that, when pressed, opens and closes the shutter to expose the sensor to light, capturing the photo.
Shutter Speed: The duration your camera's shutter remains open, controlling how much light hits the sensor and whether motion is frozen (fast) or blurred (slow).
Shutter Speed Priority Mode: An automatic shooting mode where you set the shutter speed, and the camera selects the aperture for correct exposure.
Slow Sync Flash: This flash mode combines a slow shutter speed with a flash burst to evenly expose both the foreground subject and the ambient background.
Softbox: Diffuses harsh light to create a large, soft, and even light source, ideal for flattering portraits and reducing harsh shadows.
Spot Metering: This metering mode evaluates light from a very small, specific area of your scene. It’s ideal for precise exposure of your subject.
Symmetry: When elements on one side of an image are mirrored on the other, creating a sense of balance and harmony.
Time-lapse Photography: A technique where a series of still images are captured at intervals and played back faster, condensing long events into short videos.
Tilt-Shift Lens: A specialist lens that can tilt or shift its elements, used to correct perspective distortion or create selective focus effects.
Tilt-Shift Photography: This style uses tilt-shift lenses to correct converging lines in architecture or create a miniature, toy-like effect in scenes.
Tripod: The three-legged stand that stabilises your camera, preventing blur from camera shake and enabling sharp images.
Vignetting: This is a darkening of the corners of an image, which can be an optical flaw or a creative effect added in post-processing to draw focus to the center.
White Balance: This camera setting adjusts the color cast of your image to ensure that whites appear neutral and colors are accurate under different conditions.
Zoom Lens: This lens features a variable focal length, allowing you to change your magnification and field of view without physically moving closer or changing lenses.
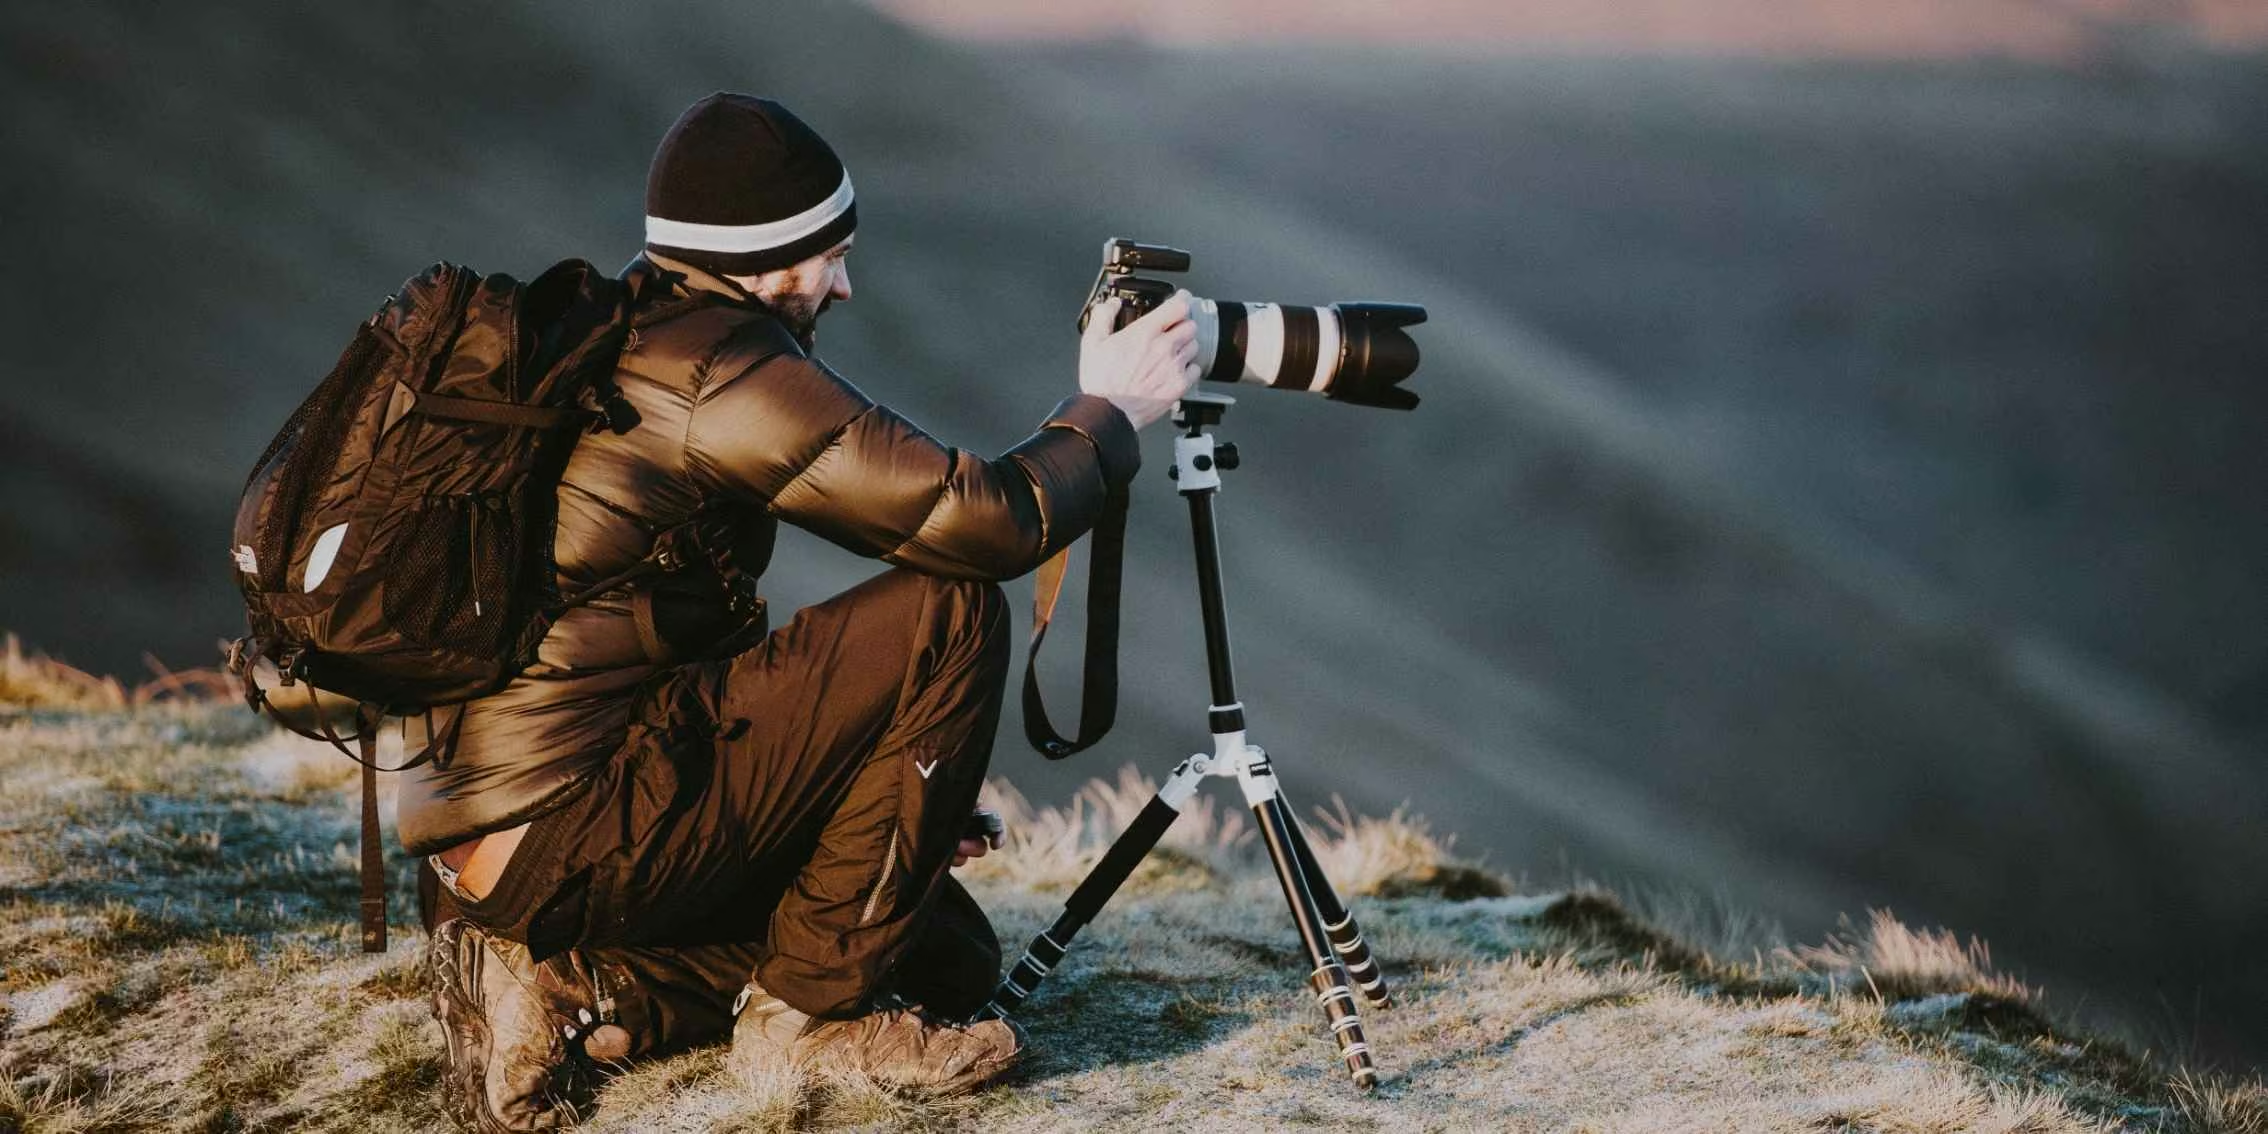
Image Source: Annie Spratt - Unsplash
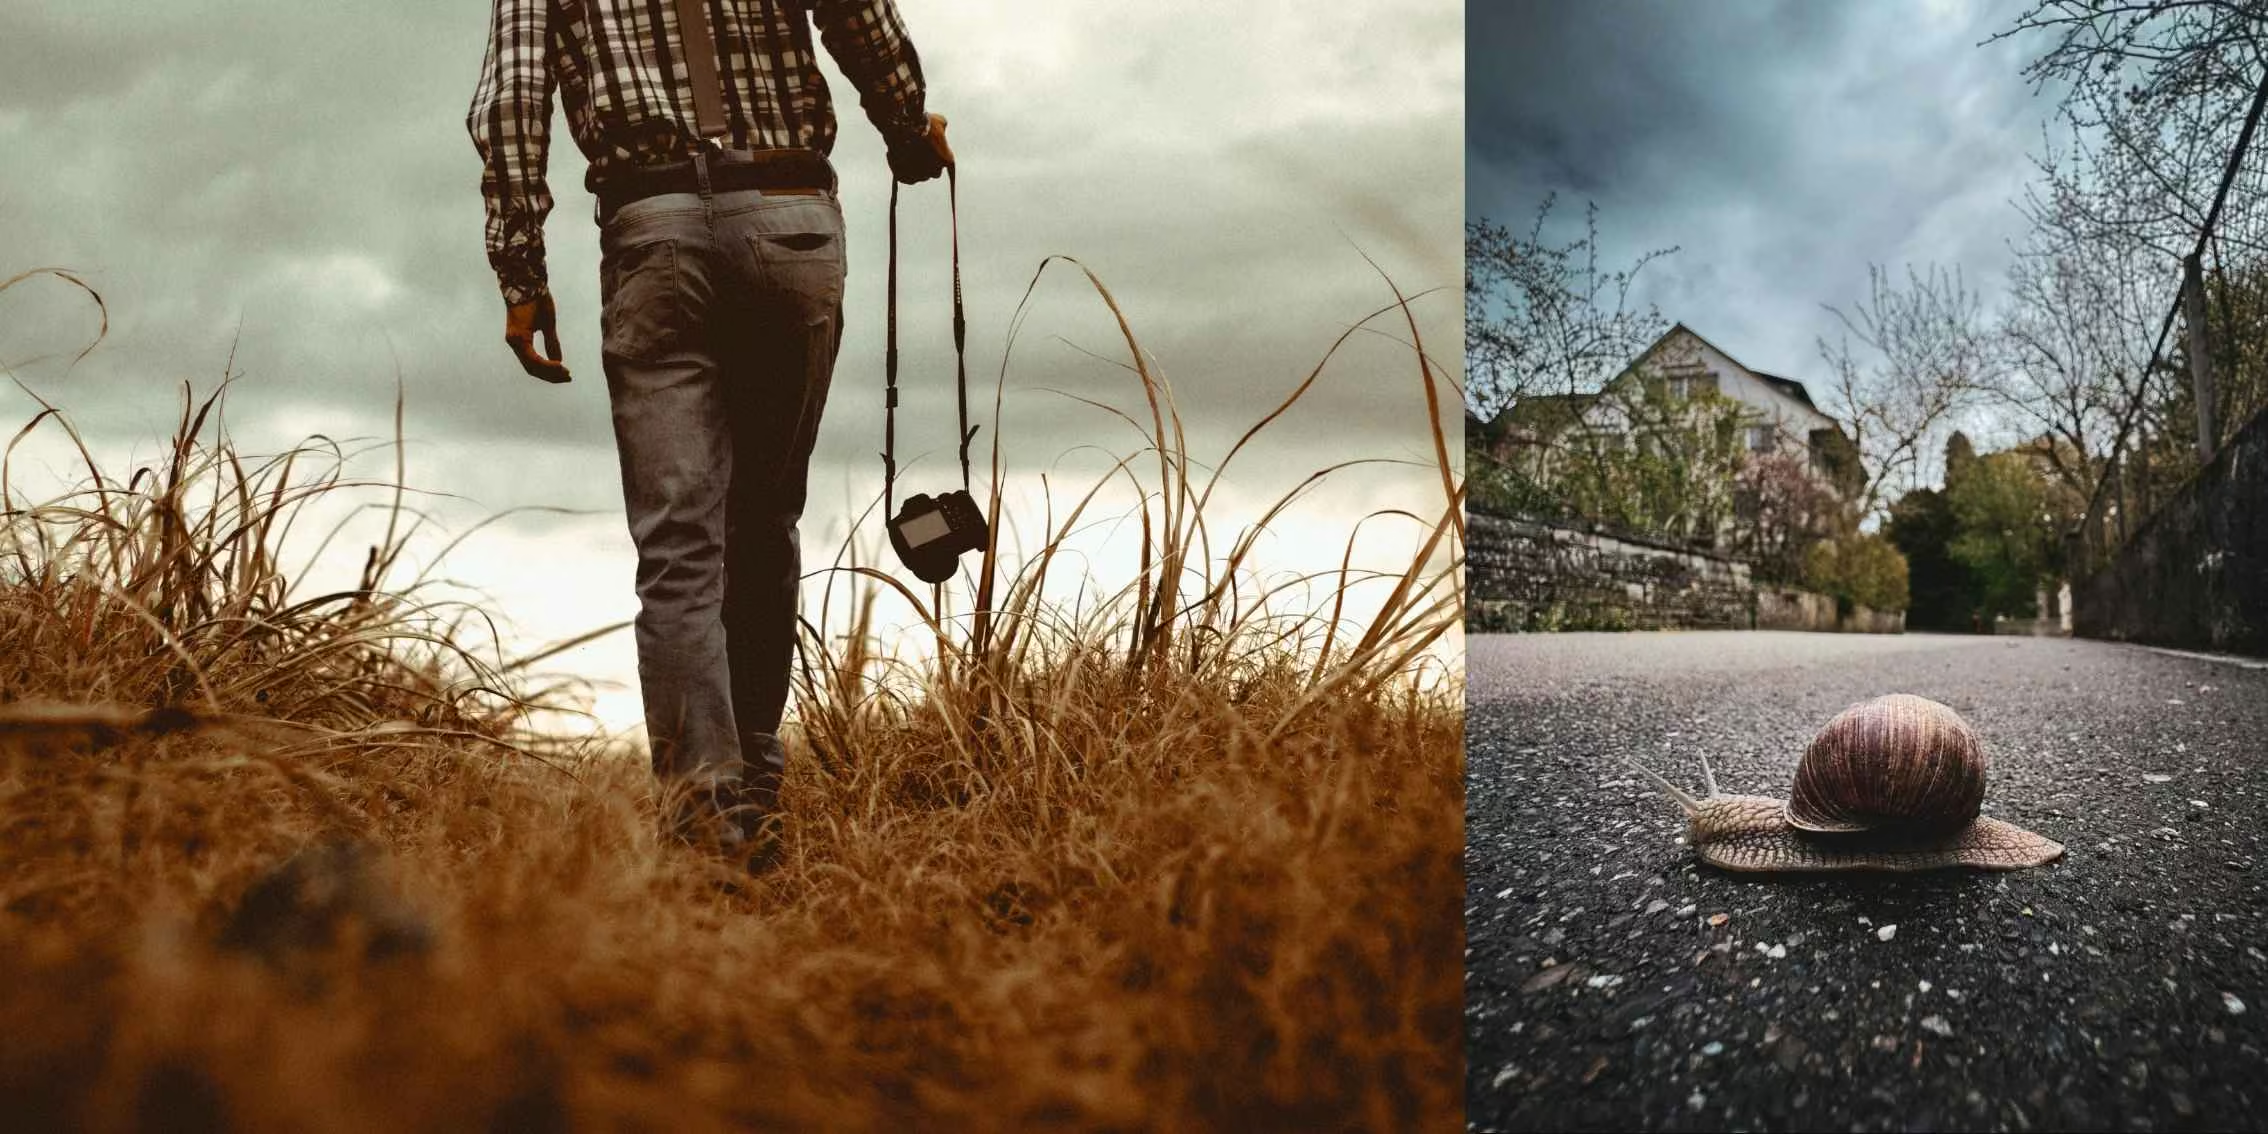
Feeling overwhelmed? Don't sweat it. Learning this language is your first step to taking awesome photos and unleashing your creativity. Here are some simple ideas to get a handle on those beginner photography terms.
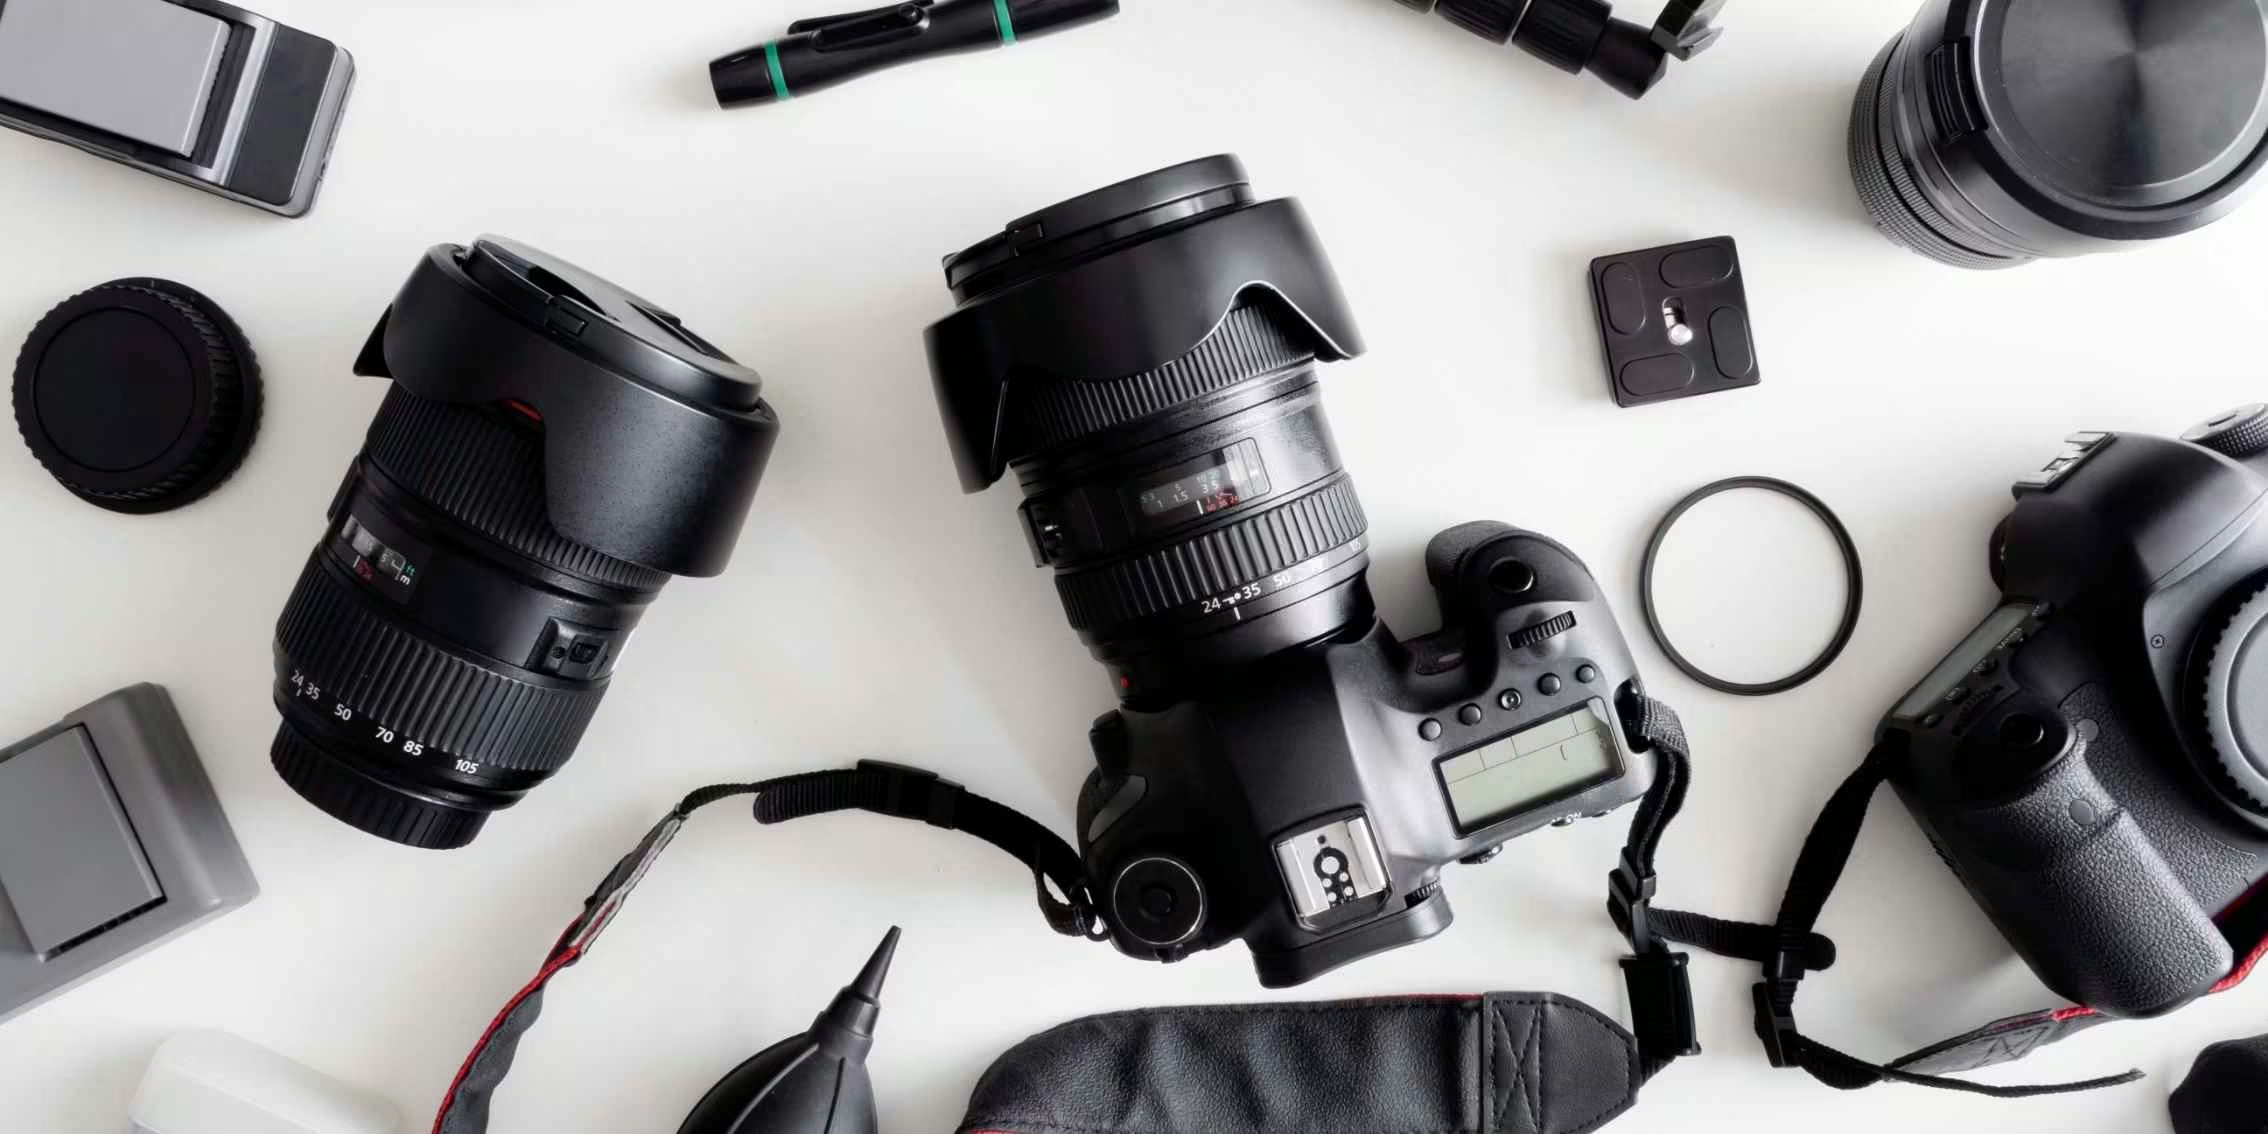
It’s time to put theory into practice! Here are some small experiments that could make a big difference to your images.

Image Source: PI Tutor Justin Aitken - www.justinaitken.com
There are a lot of parts in a camera (both moving and non-moving). It’s easy to forget about this because we cannot see inside the camera body. Every time we look through the viewfinder and press the shutter button, various components work together to create a photograph.
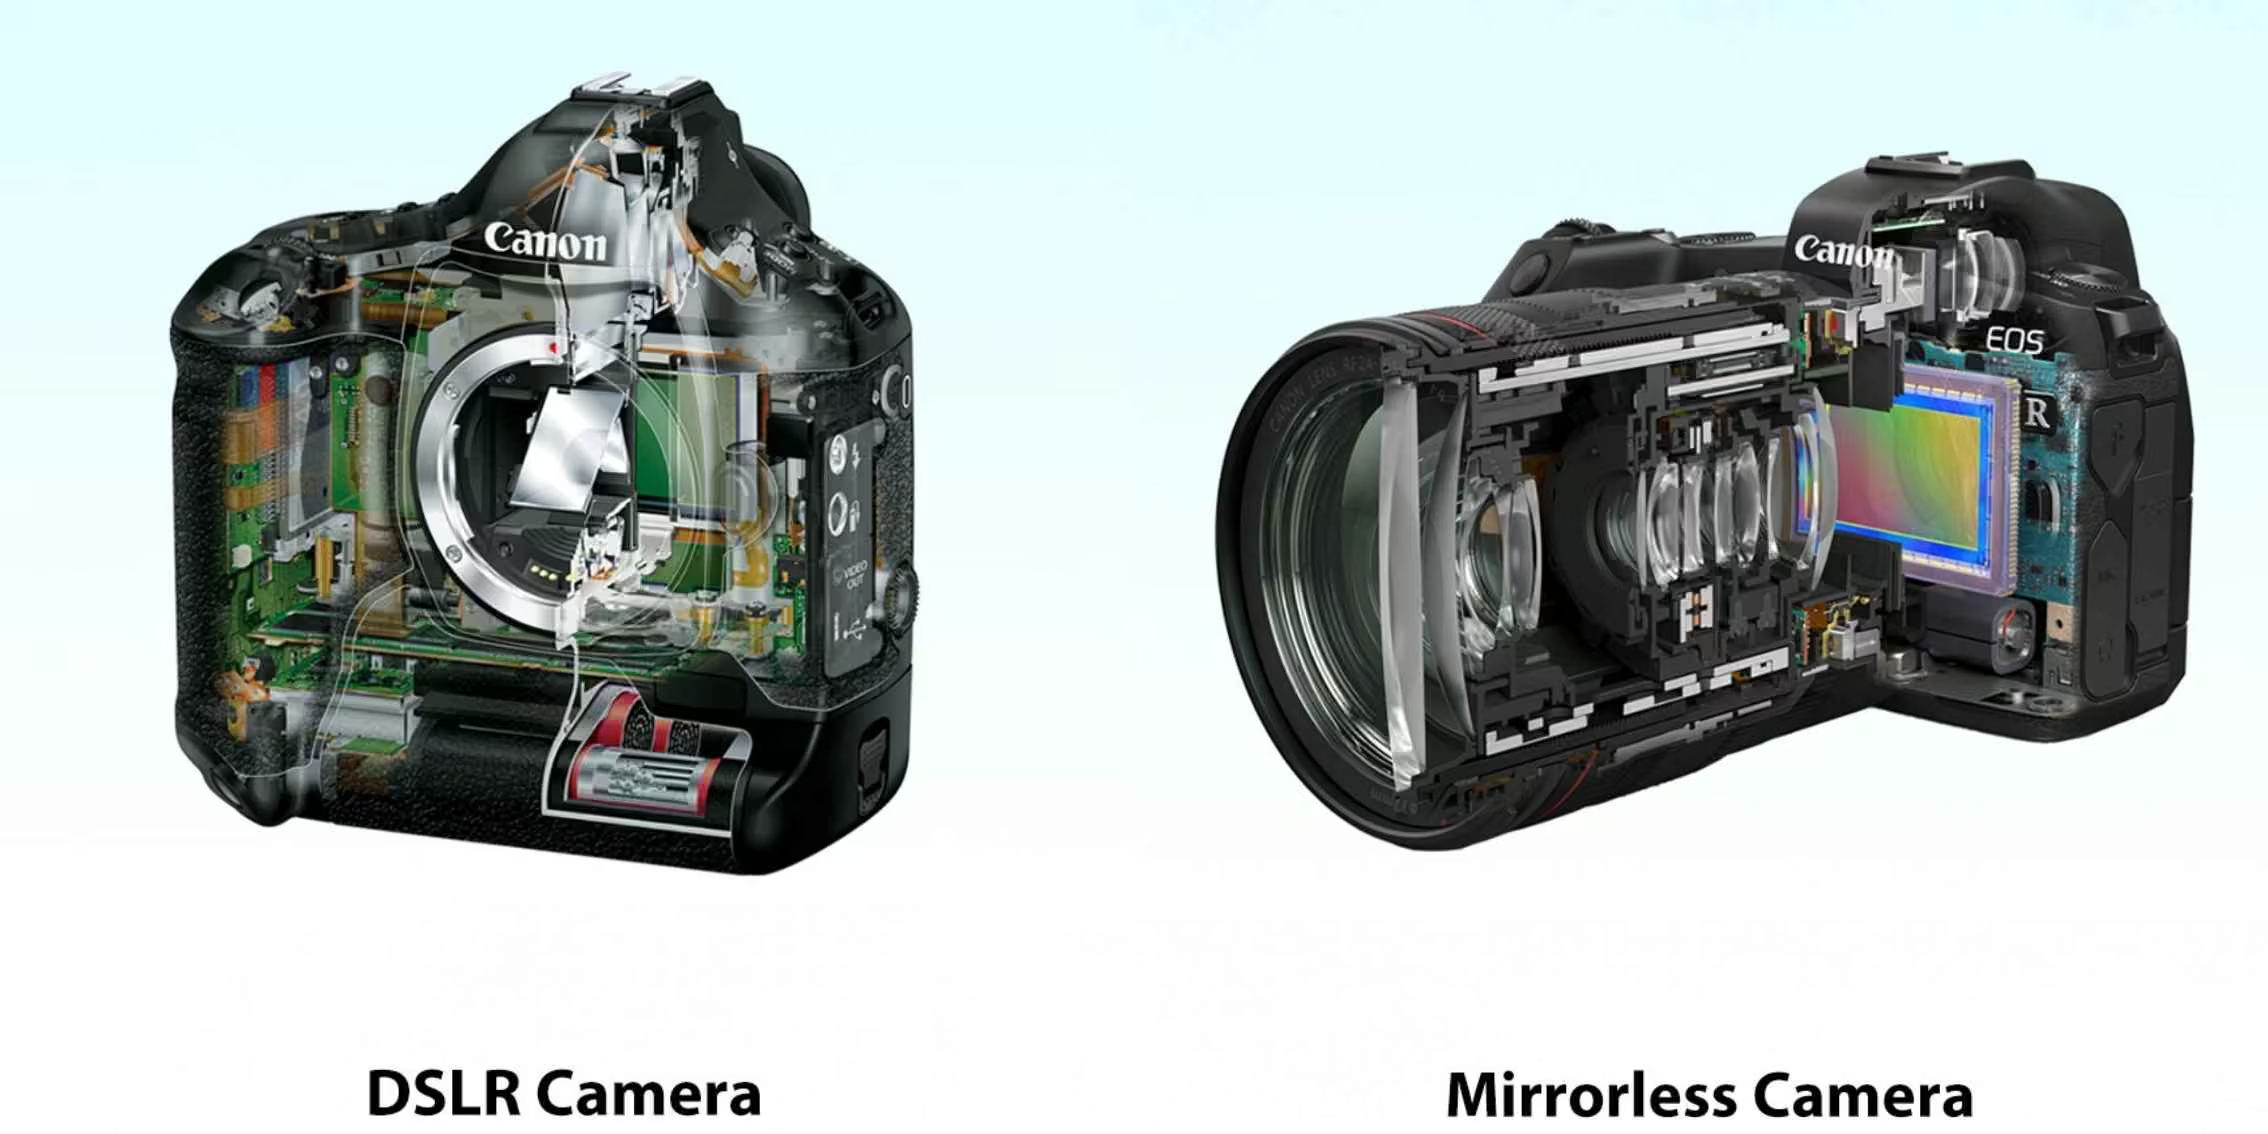
Image Source: www.global.canon
The next images show side view anatomies of a DSLR, Mirrorless and Film camera - where we can see the different mechanisms for each, with the main ones for digital cameras being:
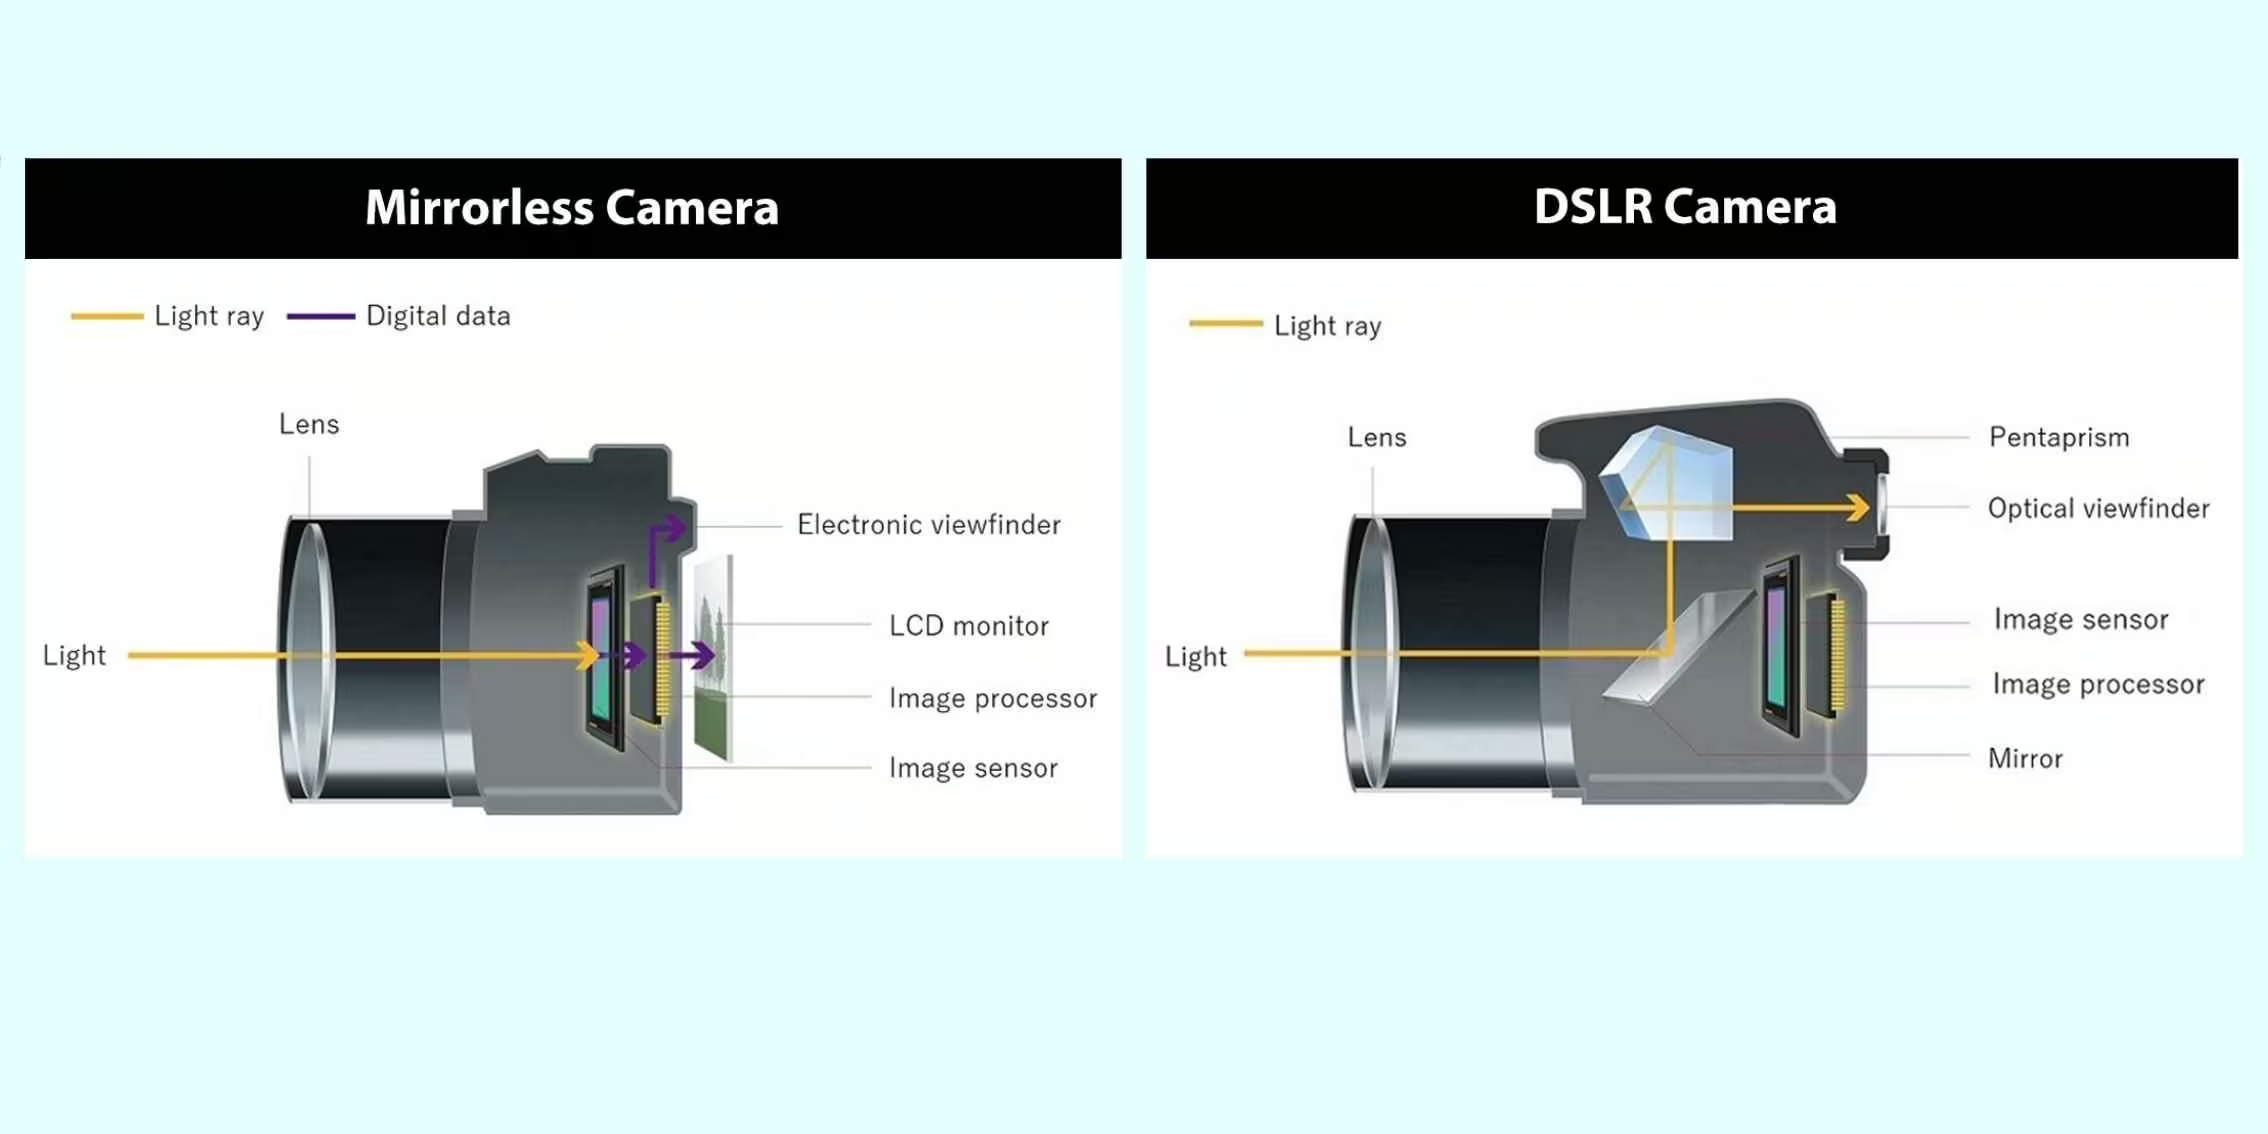
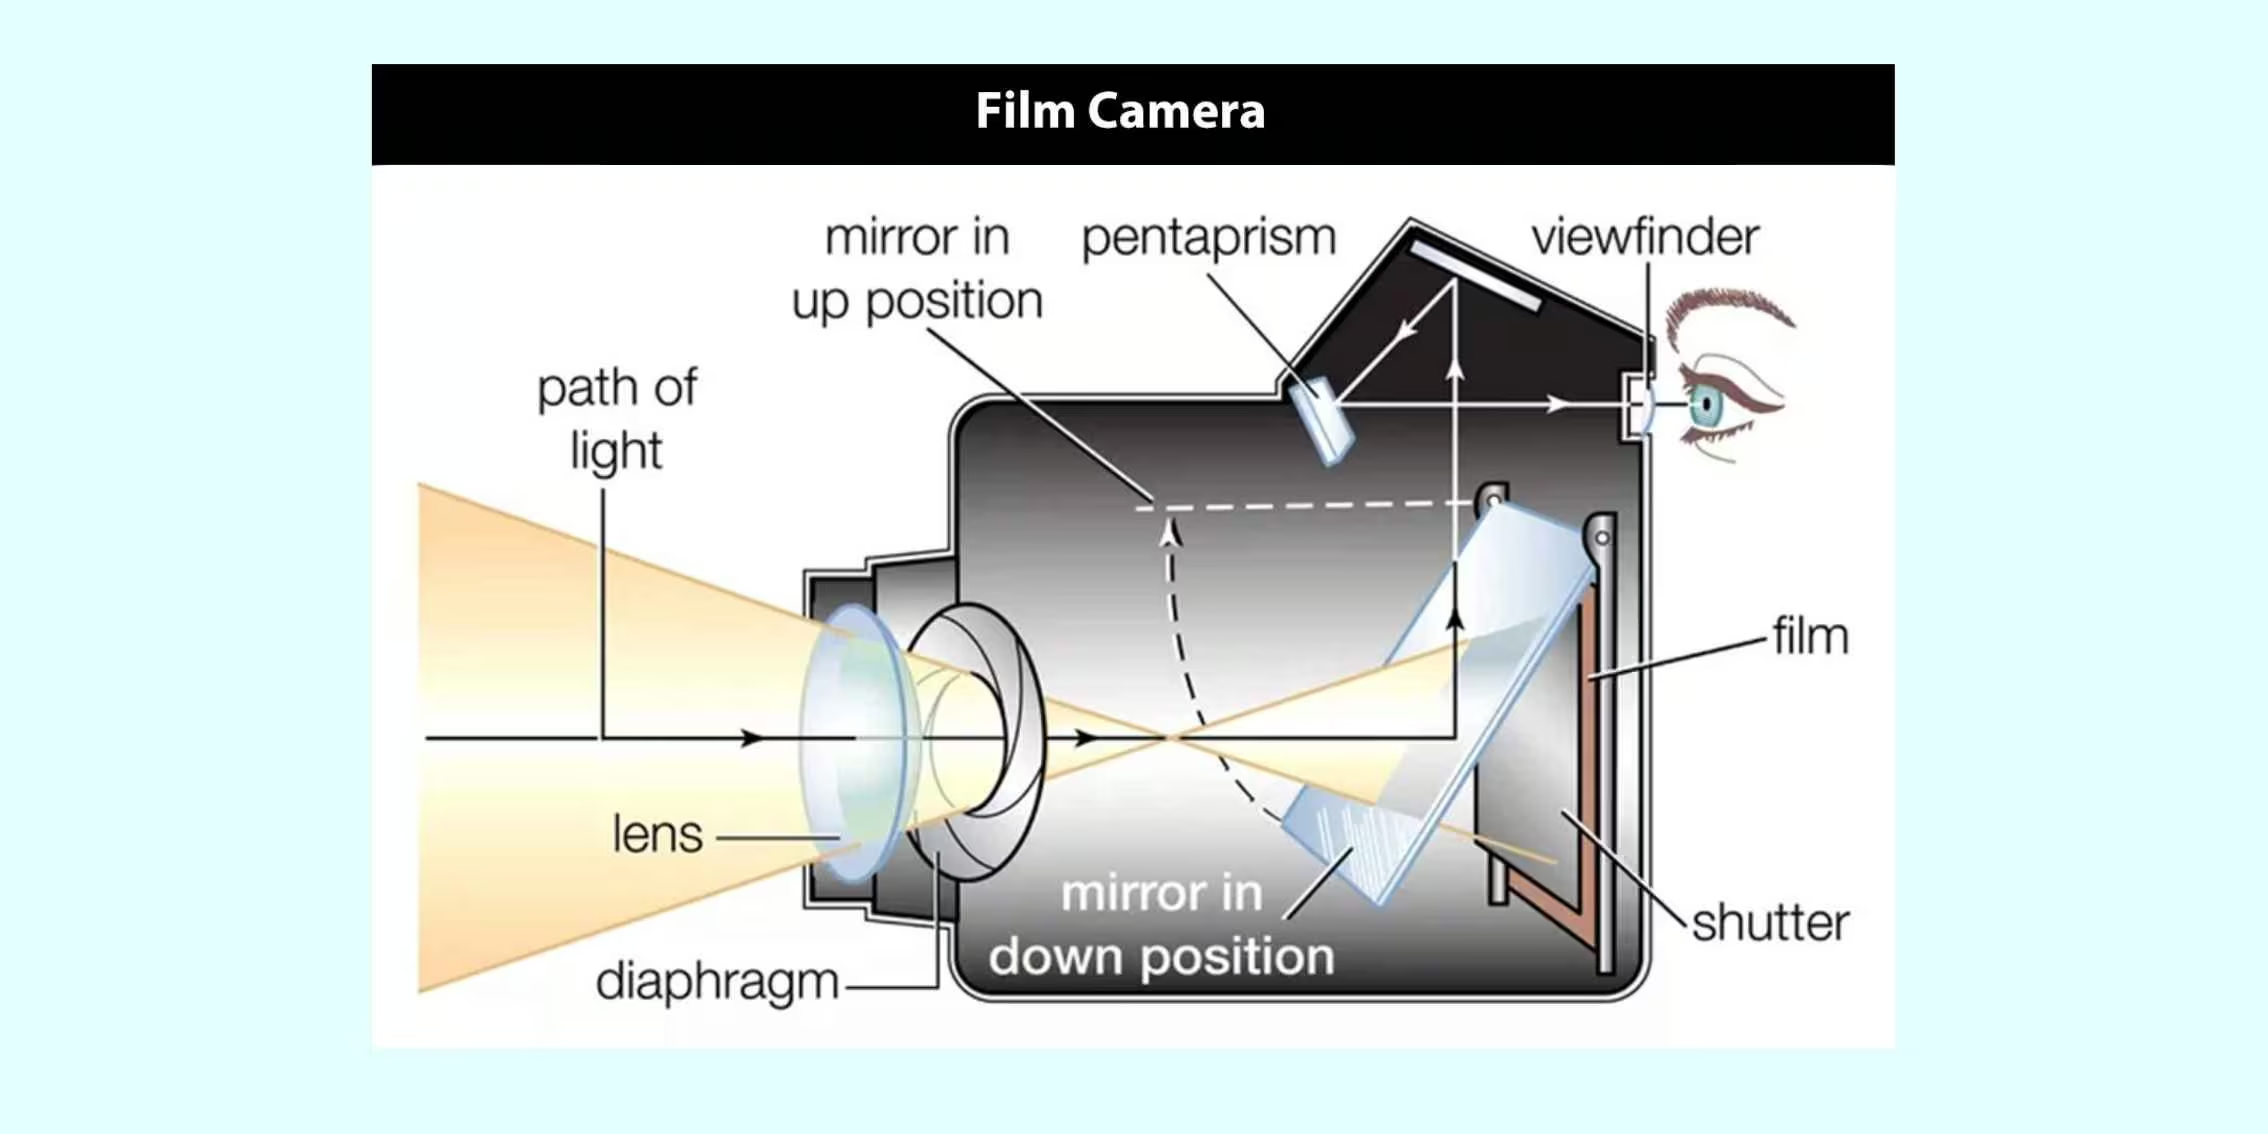
Image Source: www.global.canon & www.thesprucecrafts.com
For interest, see below for a dismantled digital camera, which shows all of the many different essential components for a camera to work.
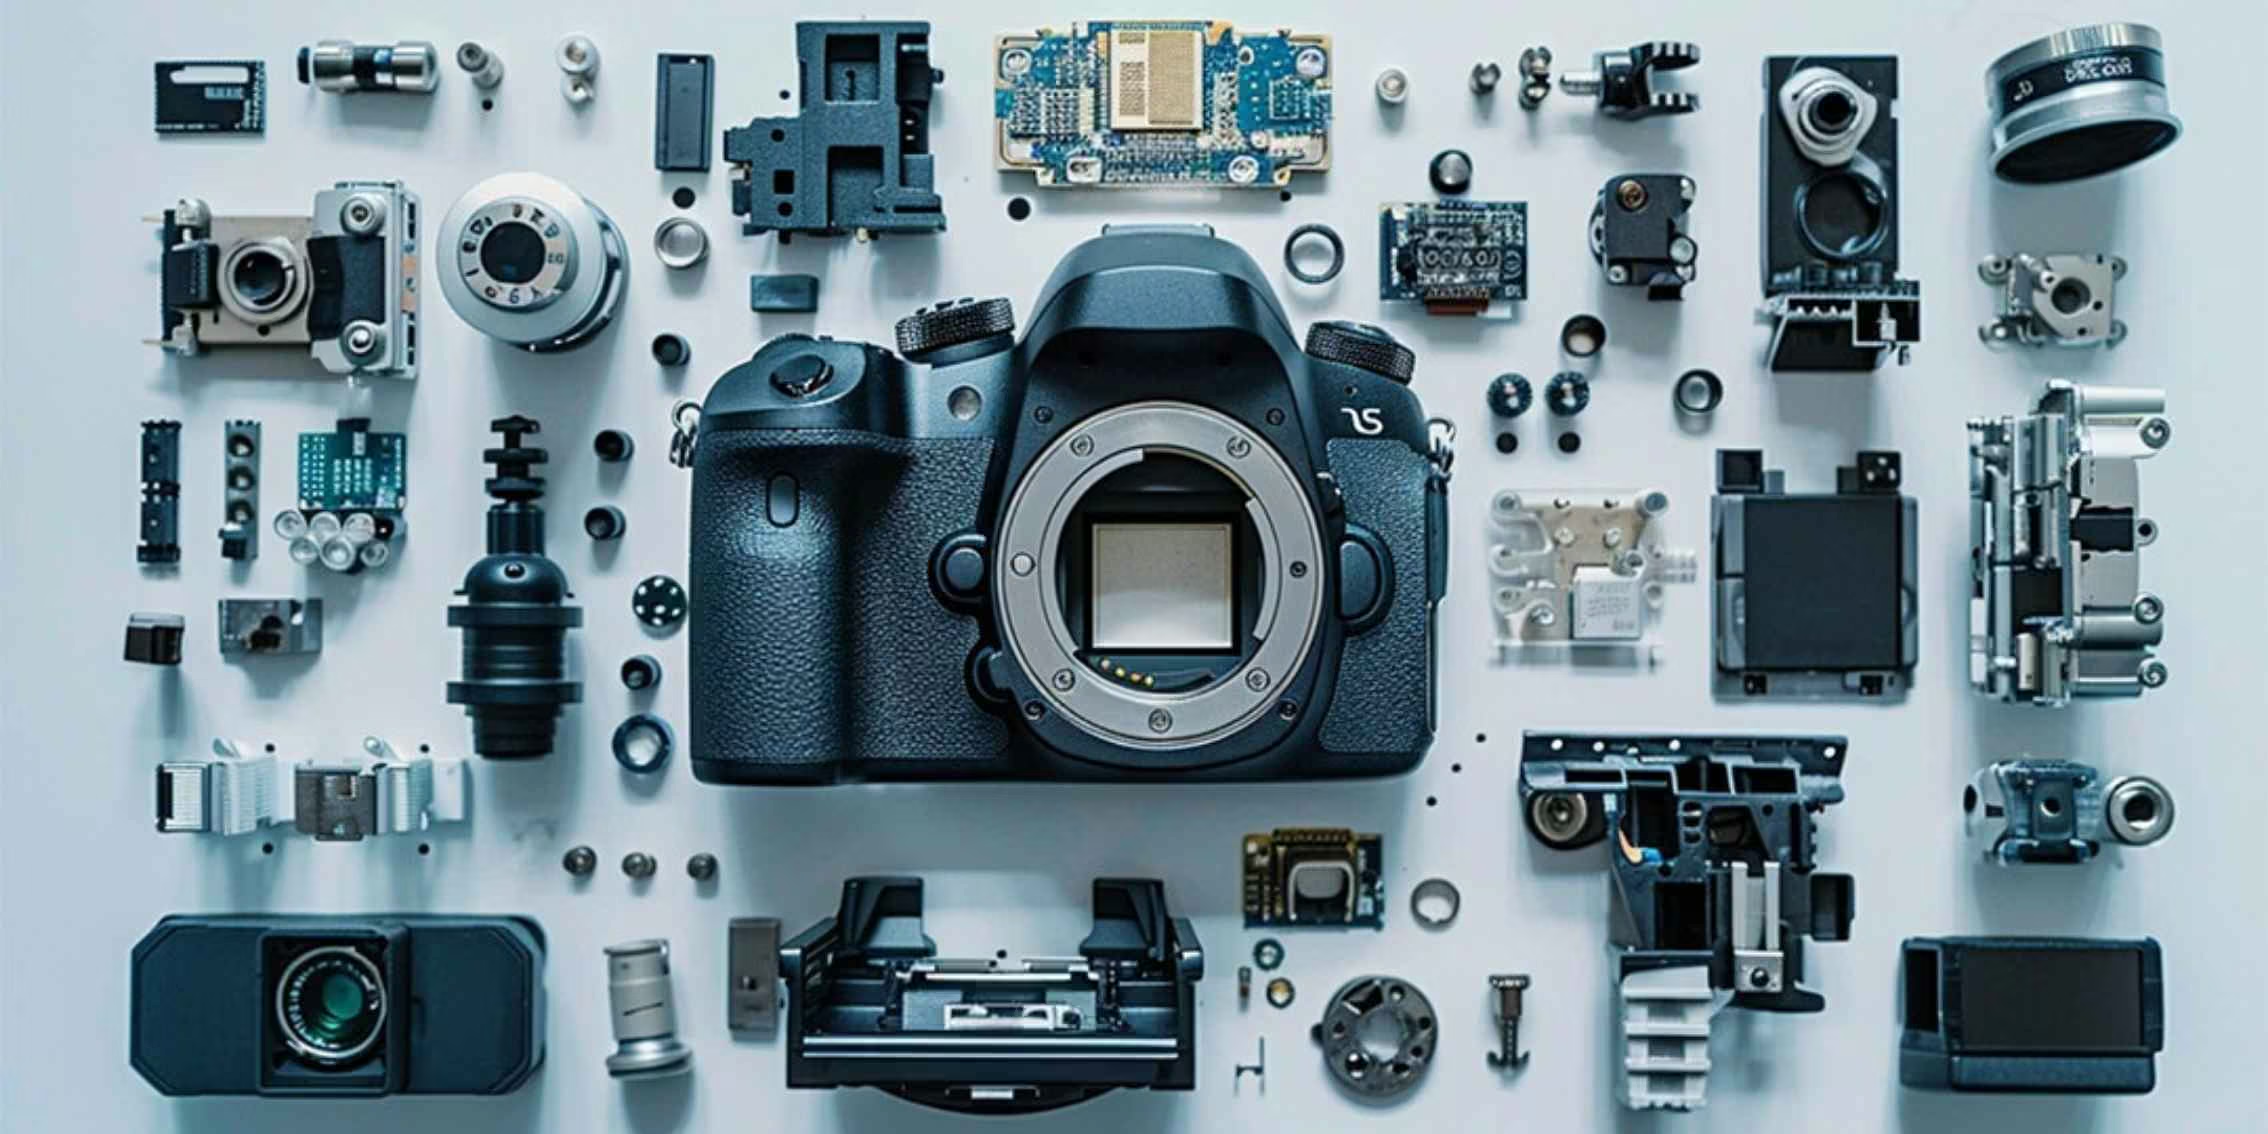
Image Source: www.stockcake.com

Tutor at The Photography Institute
Justin Aitken is a Multi Award Winning Professional Photographer. His expertise, creative quality and specialty can be seen in his portrait, lifestyle and wedding photography. His personal work consists of music, landscape and travel photography.
Published:
Mastering this photography terminology guide is the secret to controlling your camera and expressing your creativity. This photography terms list is just a stepping stone. The Photography Institute's courses can really help you apply these terms practically, turning definitions into skills with structured online learning and valuable feedback from our tutors.
Ready to take your photography skills to the next level? Explore our beginner-friendly photography courses, download our course prospectus, and start your learning journey today!
©2026 The Photography Institute. All rights reserved.